
Forever Ago Main Story Walkthrough: All 9 Sections
Follow Alfred's road trip from Woolson Falls to the Epilogue with practical, spoiler-aware steps for every route section.
FAQ
How many sections does the Forever Ago walkthrough have?
Can I miss a story objective in Forever Ago?
Where should I go for the ending?
Story spoilers: This guide covers the complete route, including the final mountain sequence and Epilogue.
The route below paraphrases the complete main-story walkthrough from Into Indie Games, published at launch. Its headings are useful route names; they are not presented here as official in-game chapter titles. The official Steam description independently confirms the road trip, camera, environmental interactions, and memory-focused premise.

Official Steam launch trailer frame, illustrative only; this image is not a walkthrough step screenshot.
Woolson Falls
Start in the bedroom by learning the controls and photographing the nearby manual. Turn around for the teddy bear, then work across the wall beside the study table and capture the displayed pictures and calendar. Before you leave this room, inspect anything that produces a camera prompt; the opening room is also the setting for the Snooping Shutterbug trophy condition later covered in the platinum route.
When Alfred calls from outside the window, photograph his pose. During the drive, keep the conversation going and take a flexible travel shot before photographing the Woolson Falls sign when it is pointed out. After arriving, crouch near the flowers for a close photograph, then capture Alfred’s next pose.
Photograph the next Falls sign and continue the conversation. When Audrey thanks Alfred, take the prompted photograph of him. Control then shifts to a third-person view: follow Audrey along the trail and let the conversations finish. At the final photo moment, shake the developed picture, open the journal, and place it in the album to close this section.
Karl’s Pump ‘N’ Mart
At the gas station, enter the shop and speak with Milton. Pick up the red basket, then collect the windshield wipers at the far end of the store, cookies on the opposite side, and the road atlas near the toilet-paper section. The atlas is close to the old photograph on the wall. Return to the counter and pay Milton; the shopping objective is also the basis of Shopaholic, whose exact public condition is listed in all achievements.
The following memory sequence leads through the mart and into a nightmare. Walk straight through the door and up the stairs. Once the scene ends, take out the wallet and pay Milton. At the campsite, place the photographs you have taken into the album before driving on. Continue to photograph freely if you are building toward the 25- and 50-photo milestones.

Official Steam launch trailer frame, illustrative only; this image is not a walkthrough step screenshot.
Highway Star Diner
Find Audrey’s favorite flower first. Leave the room, pass the restaurant, turn toward the van, and go through the fence beside it. The flowers are near the telescope at the end. Pick them up, then return to the diner.
Inside, go left to the jukebox and select “Green Green Grass of Home” by Patti Page. The booth requires a special membership, so speak with the waitress at the counter. Maddy sends you outside: leave the diner, turn right, pass through the fence, and investigate the hole and trash area at the end. Photograph the dog there, then report back to Maddy and use the booth.
When prompted at the booth, photograph the view outside and place any selected photos in the album. In the memory, inspect the gate sign, meet Audrey, and look inside the diner to trigger the scene. Open the small case when prompted, follow Audrey, sit with her, and choose the prompted confession to advance.
On The Road Back Home
The present-day road trip resumes until the van stops. Inspect the leak behind the van, check the hood at the front, and inspect the interior from the right side. Enter the van and pick up the journal near the dog. Leave and walk straight to the phone booth.
After the cutscene, follow the dream path to the phone at the end. Interact with it, then keep walking straight through the remainder of the dream. This short section is a good place to read the beginner guide’s camera and saving advice before you quit for a session.
The Sam Detour
After waking, read the note on the door and choose a shirt. Interact with the available objects in the house, then go outside to the van and Sam. Inspect the van’s problem areas; Alfred cannot finish the repair alone, so follow Sam and help water the plants. Refill the watering can at the faucet when needed.
Follow Sam again to collect the gaskets. A scene repairs most of the van, after which you tighten the remaining bolts yourself. On the field detour, keep following Sam and the dog, throw the stick when the game invites you to play, then sit with Sam and take the selfie for the journal. The route’s optional pet interactions are useful for the achievement checklist.
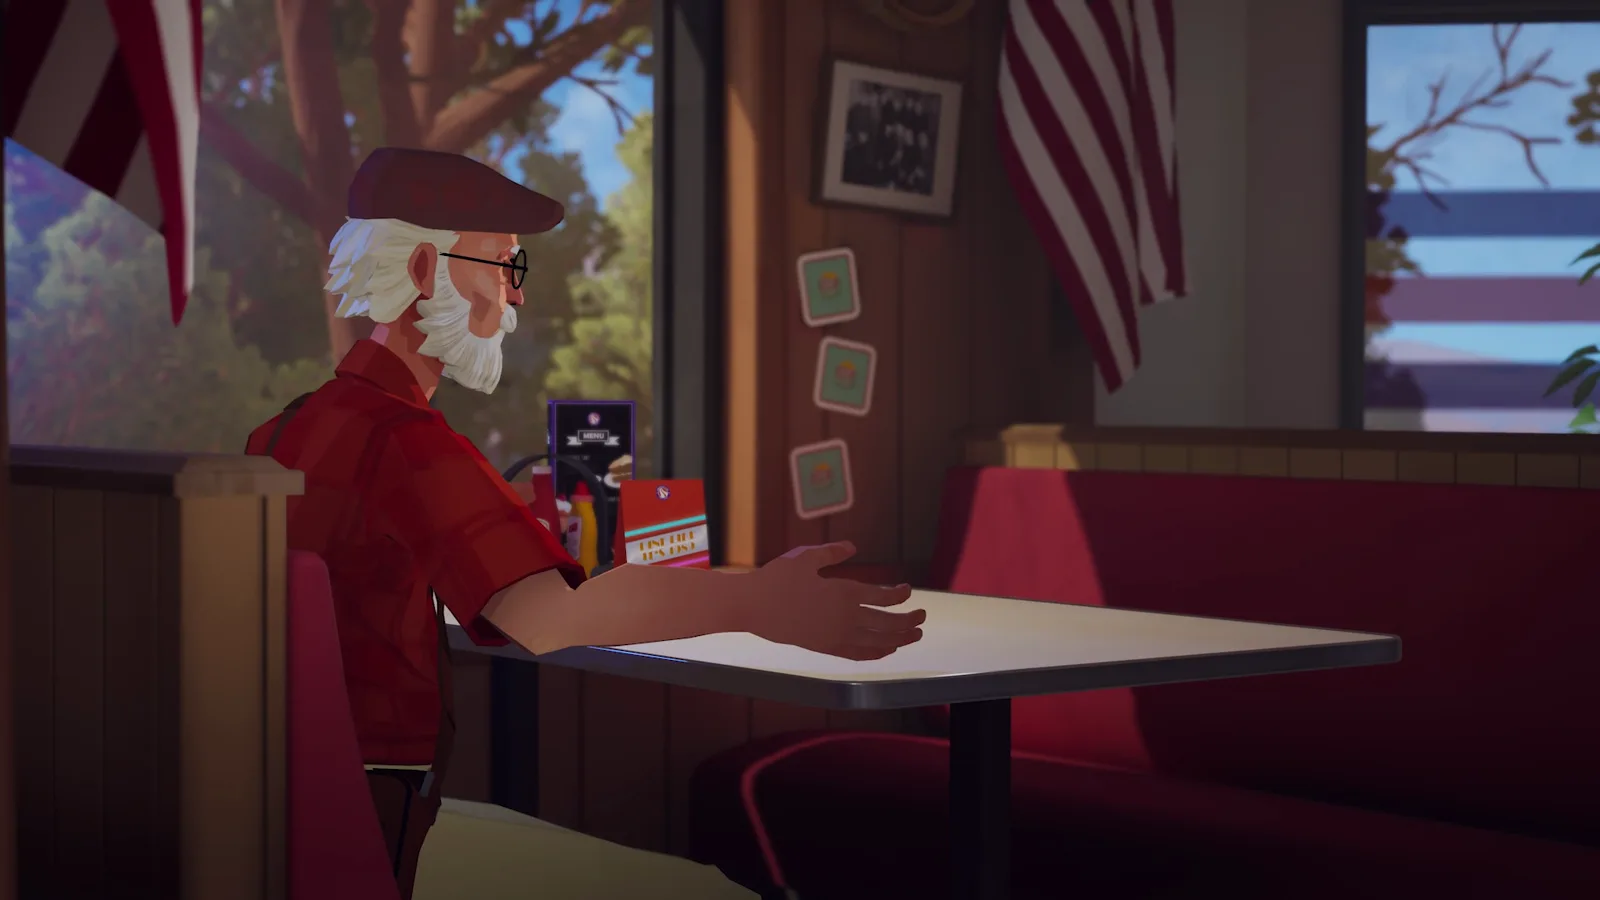
Official Steam launch trailer frame, illustrative only; this image is not a walkthrough step screenshot.
Captain Marley & the Buccaneers’ Retreat
Arrive at the abandoned resort and inspect the entrance booth before following the linear path to reception. Use the ticket booth to get a day ticket, enter the resort, and stay to the right as you pass through the narrow section. Continue to the captain’s galley and climb the stairs into the nightmare; walk forward and interact with the objects blocking your path.
Back outside the dream, use the planks to bridge the broken floor and take the bolt cutters. Cut the balcony lock, descend the ladder, and open the lock to the skull-and-coins arcade. Pull the lever to power the machines and play Guardian Lord. The launch walkthrough reports that the objective completes even without beating the high score, while the trophy list separately describes Guardian Lord as beating the arcade high score, so attempt the record if you want the platform trophy.
Leave the arcade and follow the right side to another lock. Open the souvenir shop, take the mascot tickets from the shelf beside the parrot, then leave through the nearby door and continue to the docks. Cut the harbor lock, board the boat, and photograph during the ride to enter the flashback. Let Audrey steer first, follow with your own steering, then follow her on the island. After the cutscene, carve the tree to finish this stop.
Winslow Lighthouse
The route first pauses at an animal shelter for the dog, then returns to the road. After the trip, make coffee and feed the dog. Follow Charles and photograph the sequence when he sits down; the camera changes automatically, so keep taking the prompted pictures.
Continue along the path, throwing sticks for the dog when the opportunity appears. At the lighthouse entrance, read the sign. After the next scene, aim at the top of the lighthouse and take the photograph that starts the memory. Enter the lighthouse, climb the stairs, and let the closing scenes of this section play out.
Williamina Peak
During the drive, increase the windshield-wiper speed as the weather worsens. The crash leads into another dream; walk straight through it. Once awake, follow the dog’s tracks in the snow and call for it while searching. Keep moving forward even when the tracks are no longer visible.
After finding the dog, climb the stairs to the peak. The next dream again asks you to walk straight to the door. At the peak, place the tray beside Audrey, feed her the soup, and finish the conversation. When the flashback ends, open the drawer, check the journal, and read Audrey’s final note. The ending explanation separates these source-confirmed actions from interpretation.
Epilogue
The final section takes place at home. Interact with the available objects, reach the kitchen, and make dinner. The dog appears afterward; find it and play together. That completes the route described by the launch walkthrough.
Sources and scope
The action order above is an original paraphrase of Into Indie Games’ launch walkthrough. Game premise and camera/environment claims are cross-checked against the official Steam App API. The three images are frames from the official Steam launch-trailer listing; they illustrate the road-trip mood and do not claim to show any particular step.
Related Articles
guides
Forever Ago Achievements: All 29 Xbox and Steam Goals
See every Forever Ago achievement name and published requirement for Xbox and Steam, with a chapter-based route for photos, vignettes, and optional actions.
guides
Forever Ago Beginner Guide: Camera, Journal, and Saving
Learn how Forever Ago's camera, journal, interaction prompts, and checkpoint-based saving work before starting Alfred's road trip.
guides
Forever Ago Collectibles: Vignettes and Confirmed Locations
Learn how Forever Ago vignettes work, where sources confirm memory and photo contexts, and which collectible locations remain unverified.
Was this helpful?
Thanks for the feedback!