
Forever Ago On The Road Back Home Walkthrough (With Screenshots)
Step-by-step On The Road Back Home walkthrough for Forever Ago: the van's oil leak, the stowaway dog, the phone booth, and the dream, with screenshots.
FAQ
What is wrong with the van in On The Road Back Home?
Is the dog in the van important or just a gag?
How do you get through the phone booth dream?
Which achievement is connected to this section?
Where does On The Road Back Home end?
Story spoilers: this guide covers the full On The Road Back Home stretch, including the answering-machine dream and what it reveals about Audrey’s illness.
On The Road Back Home is the fourth stretch of the main story route. The present-day trip resumes after the Highway Star Diner stop, the van gives out in the desert, and a short walk ends somewhere very unfamiliar. The section is short on puzzles and heavy on story — most of it plays as a guided walk, so this page focuses on the handful of interactions you can actually act on. Every screenshot below comes from published gameplay footage, credited in the source note, and each caption links the exact moment in that video.
On The Road Back Home walkthrough, step by step
Step 1: When the van gives out, work around it
The van coasts to a stop on a desert stretch and the diagnosis is blunt: “A flat tire would have been easier to deal with. Oil. That’s a bad sign.” The walkthrough’s three checks run clockwise around the vehicle. Start behind it, where oil is dripping onto the road.
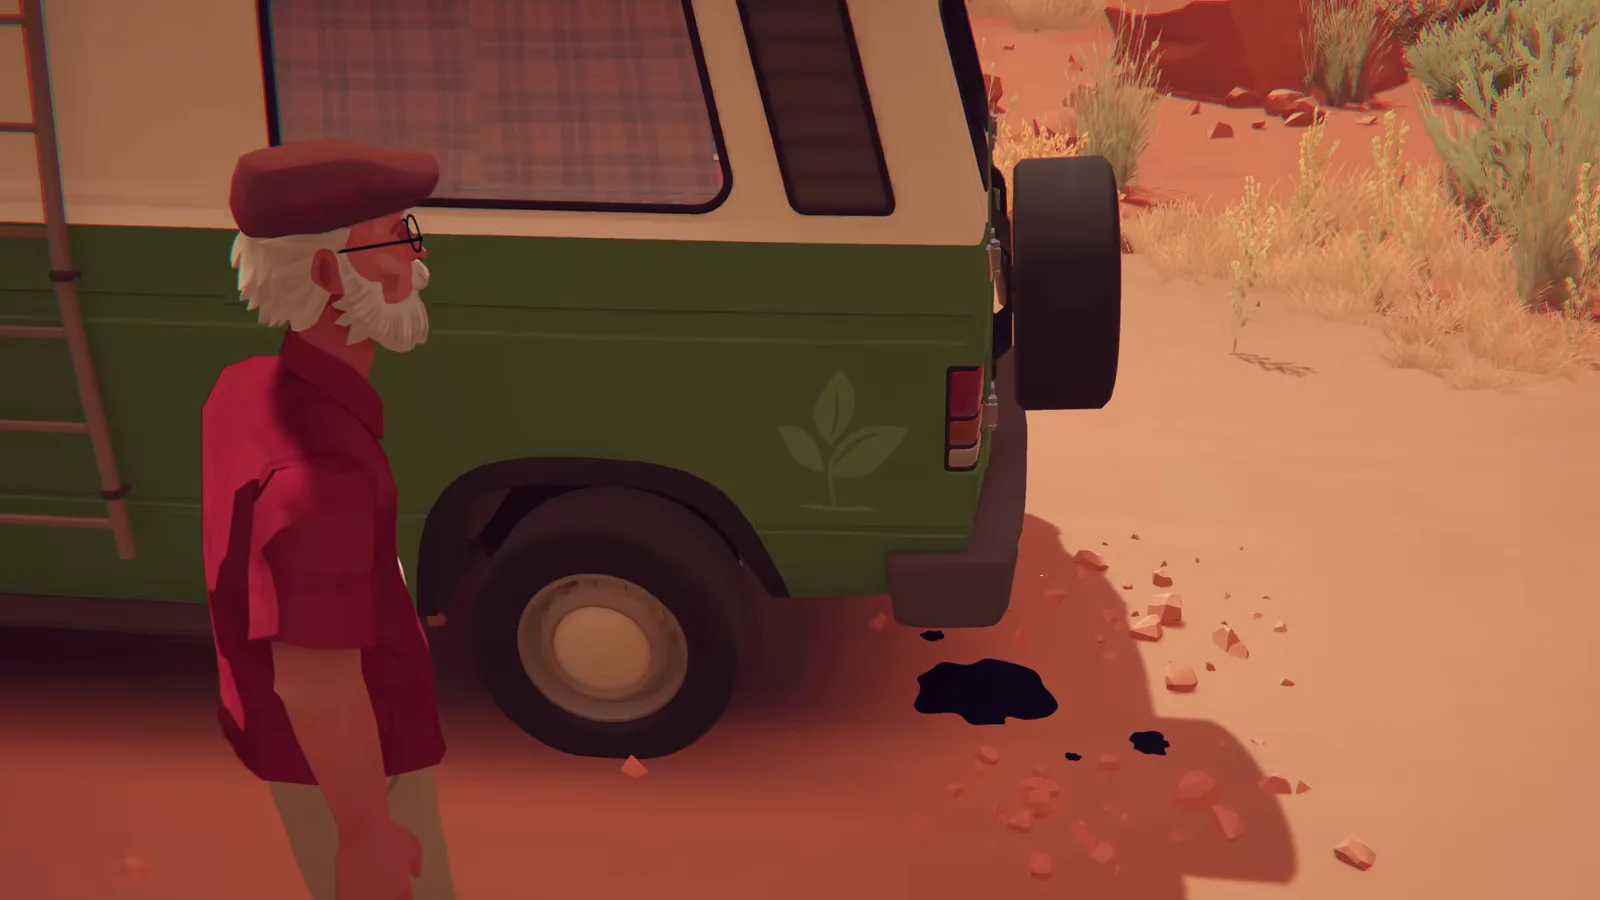
The leak behind the van — the first of the three breakdown checks. Watch this moment at 1:44.
Next, the hood at the front. There is nothing to repair here — the interactions exist to make Alfred circle the van and confirm how stuck he is.
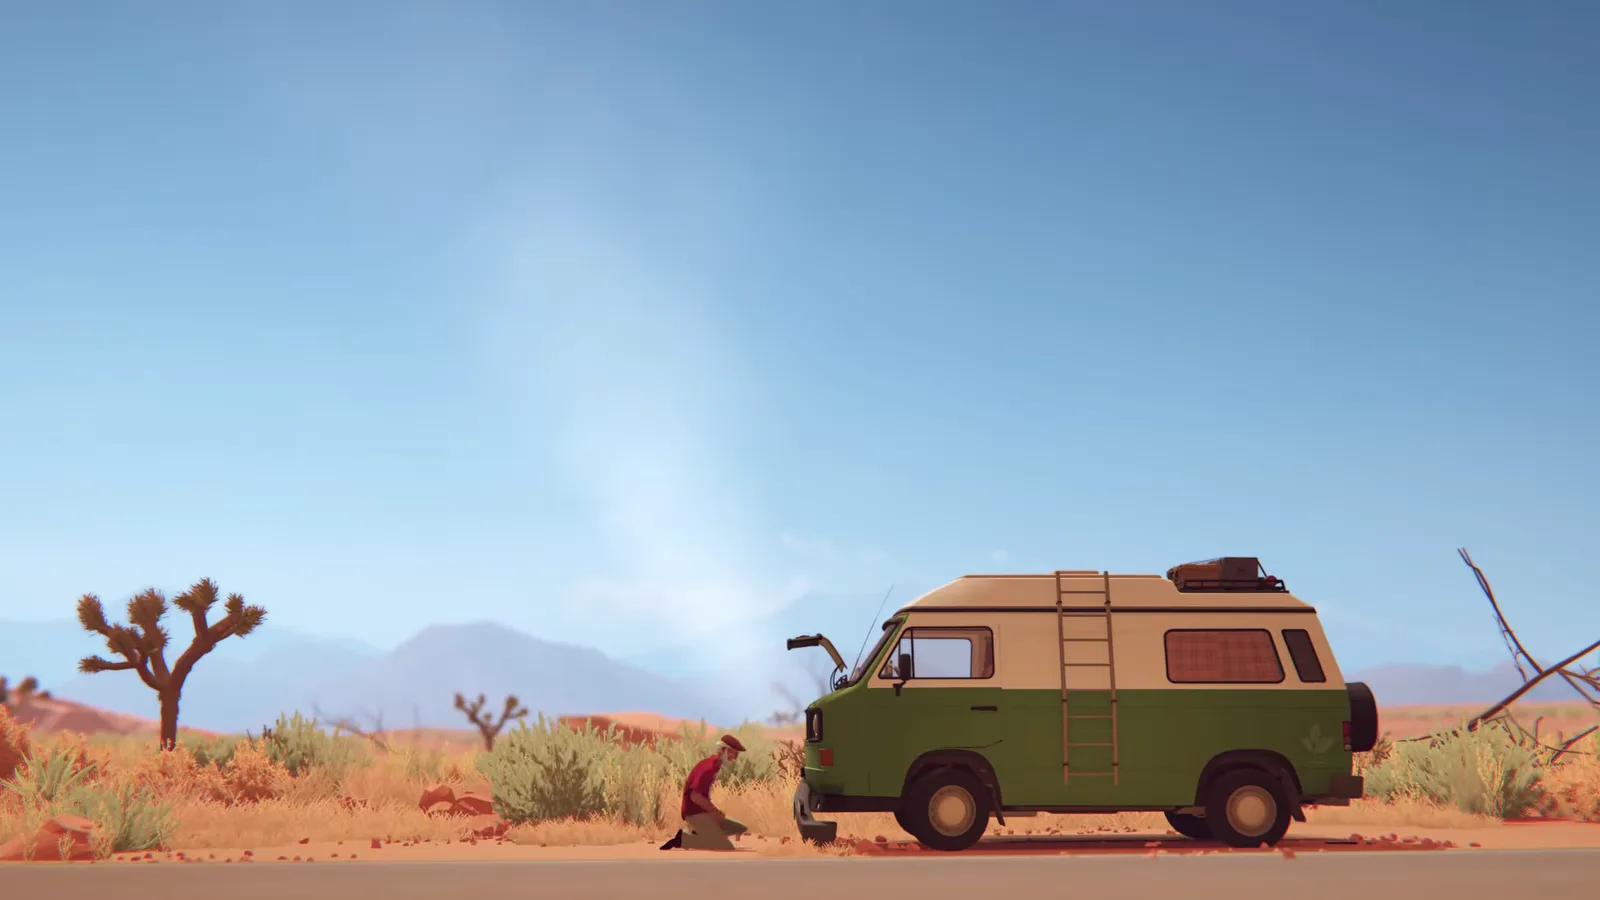
The front check: an open hood and no fix in sight. Watch this moment at 2:28.
Finish with the interior from the right side. The side door carries a Check Inside prompt; interacting with it closes out the inspection round.
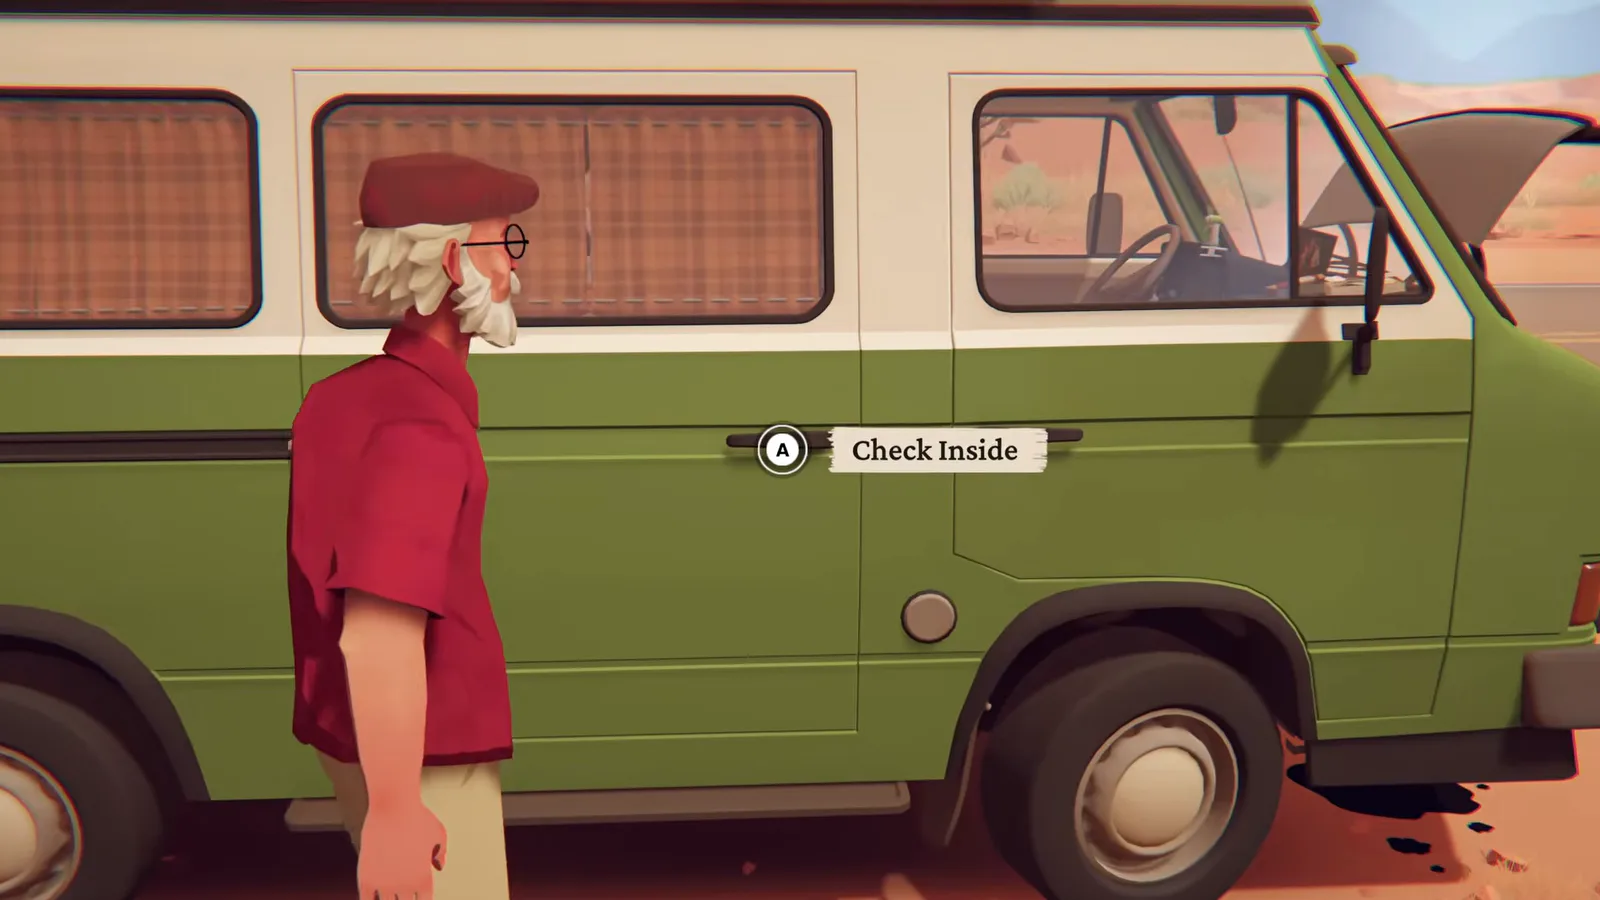
The third check: the side door’s interaction prompt. Watch this moment at 2:56.
Step 2: Enter the van and grab the journal near the dog
Inside, the mystery passenger is finally acknowledged — “What are you doing in my van? Maybe I’m just seeing things” — and Alfred reaches past the dog for the one thing he will not leave behind: “The journal is the only thing I need back.”
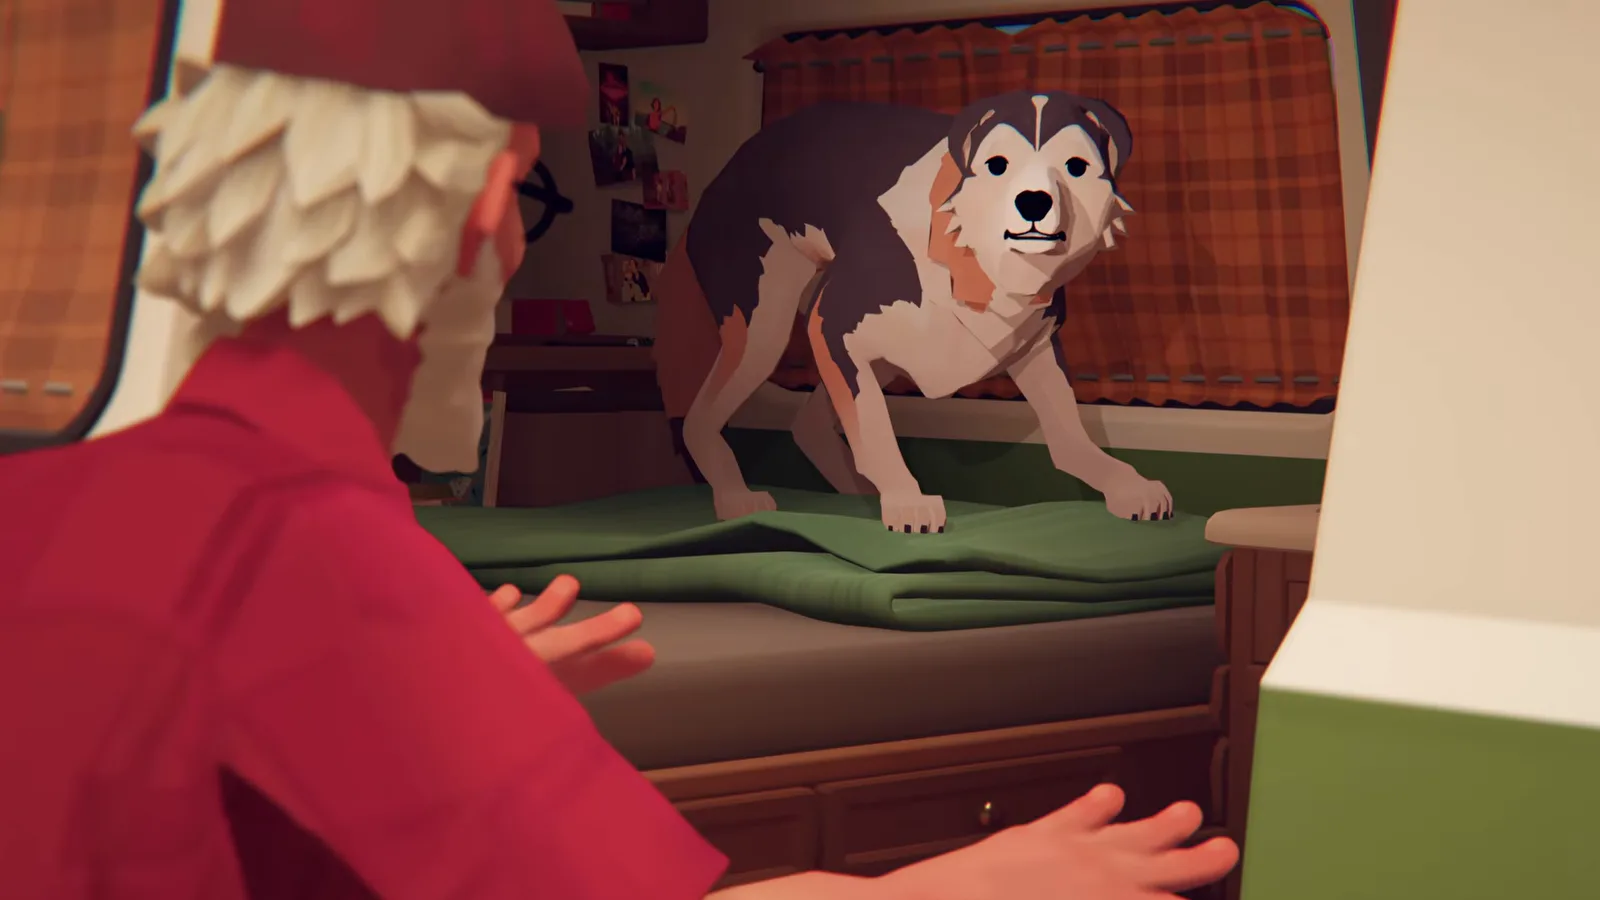
The retrieval prompt puts the journal within reach of the dog’s blanket. Watch this moment at 3:08.
The stowaway from the diner dumpster has been riding in the van since the motel. She has no interaction prompt in this section — she just refuses to be left behind.
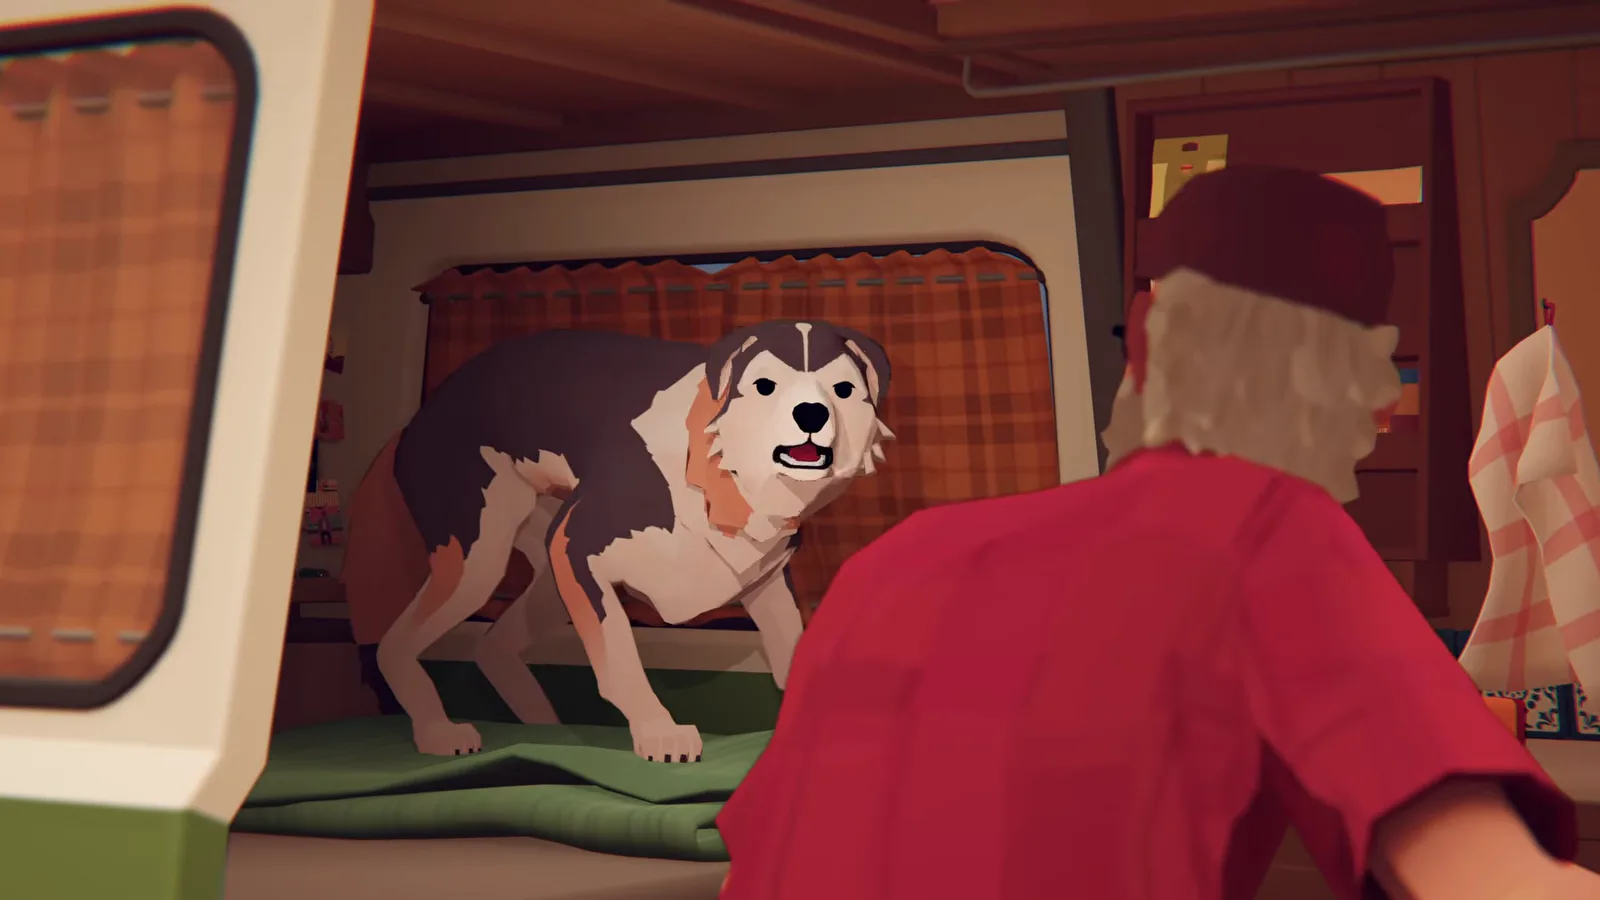
The dumpster dog, riding along since the Highway Star stop. Watch this moment at 3:40.
Step 3: Walk for help — with a follower
Alfred sets out on foot: the truck stop he passed after the exit “should be a little over an hour walk from here.” He does not stay alone for long — “Talking to a goddamn dog. I’m going crazy in this heat” — because the dog trots along anyway.
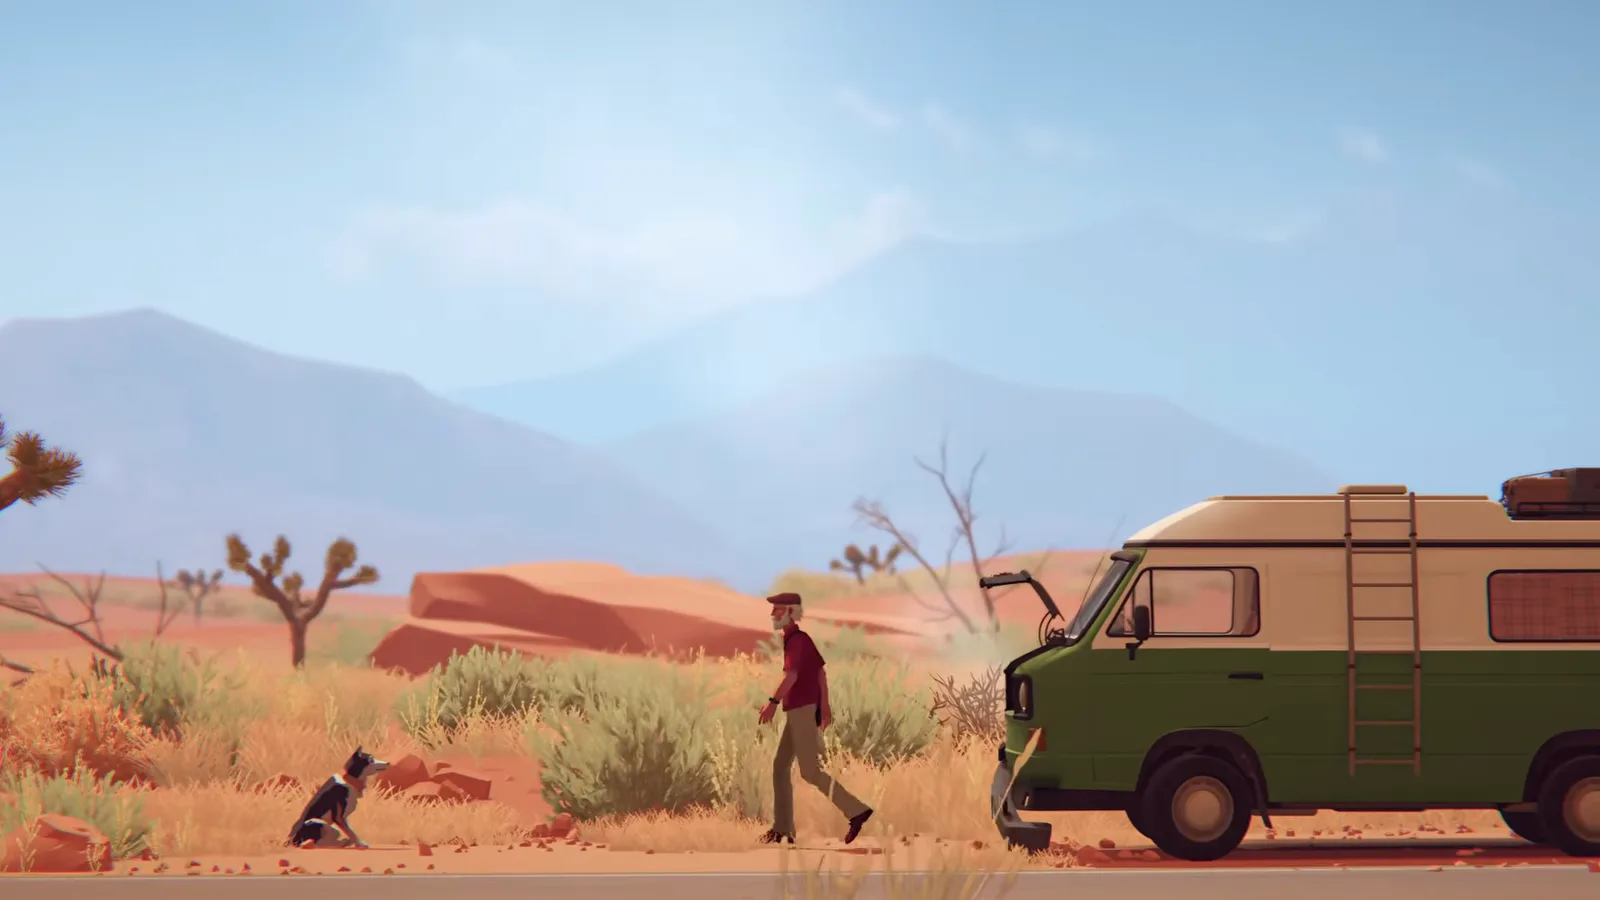
The walk for help, with an uninvited companion. Watch this moment at 5:20.
Step 4: Stop at the phone booth
Instead of the hour-long hike, a lone phone booth by the road cuts the trip short. Interact with it and a cutscene takes over — whatever Alfred expected from the call, the game answers with a dream.
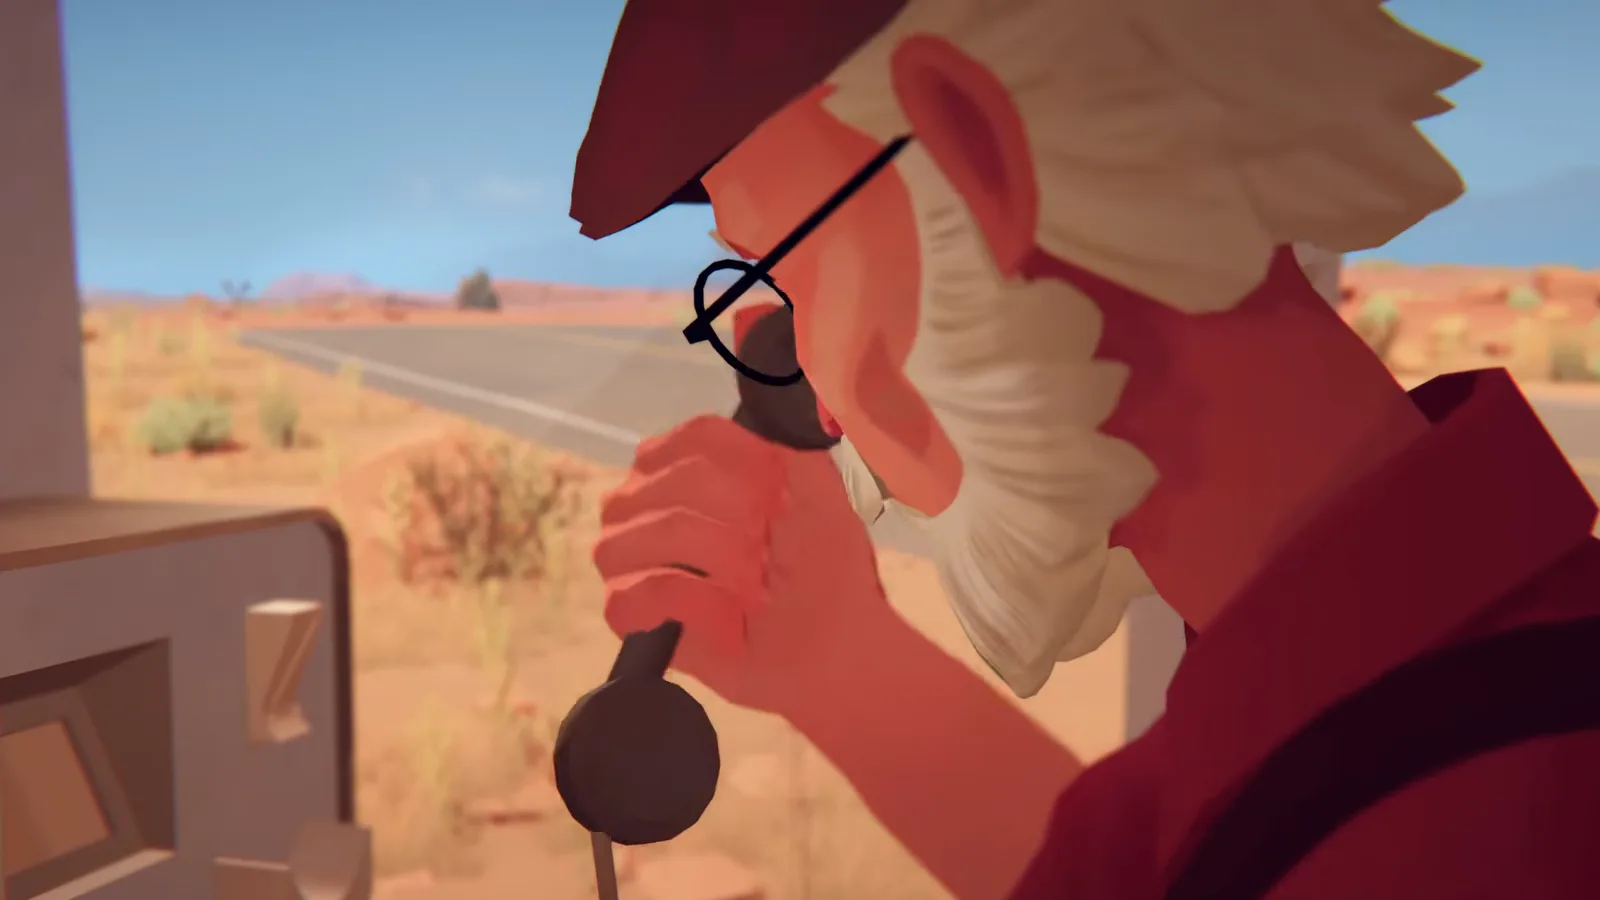
The booth replaces the walk to the truck stop. Watch this moment at 7:00.
Step 5: The dream: home, and the answering machine
The dream opens on the front porch at home — “I’m home” — and walks Alfred inside toward a small table. The walkthrough’s instruction is simply to keep heading straight ahead; the path assembles itself out of the dark as you go.
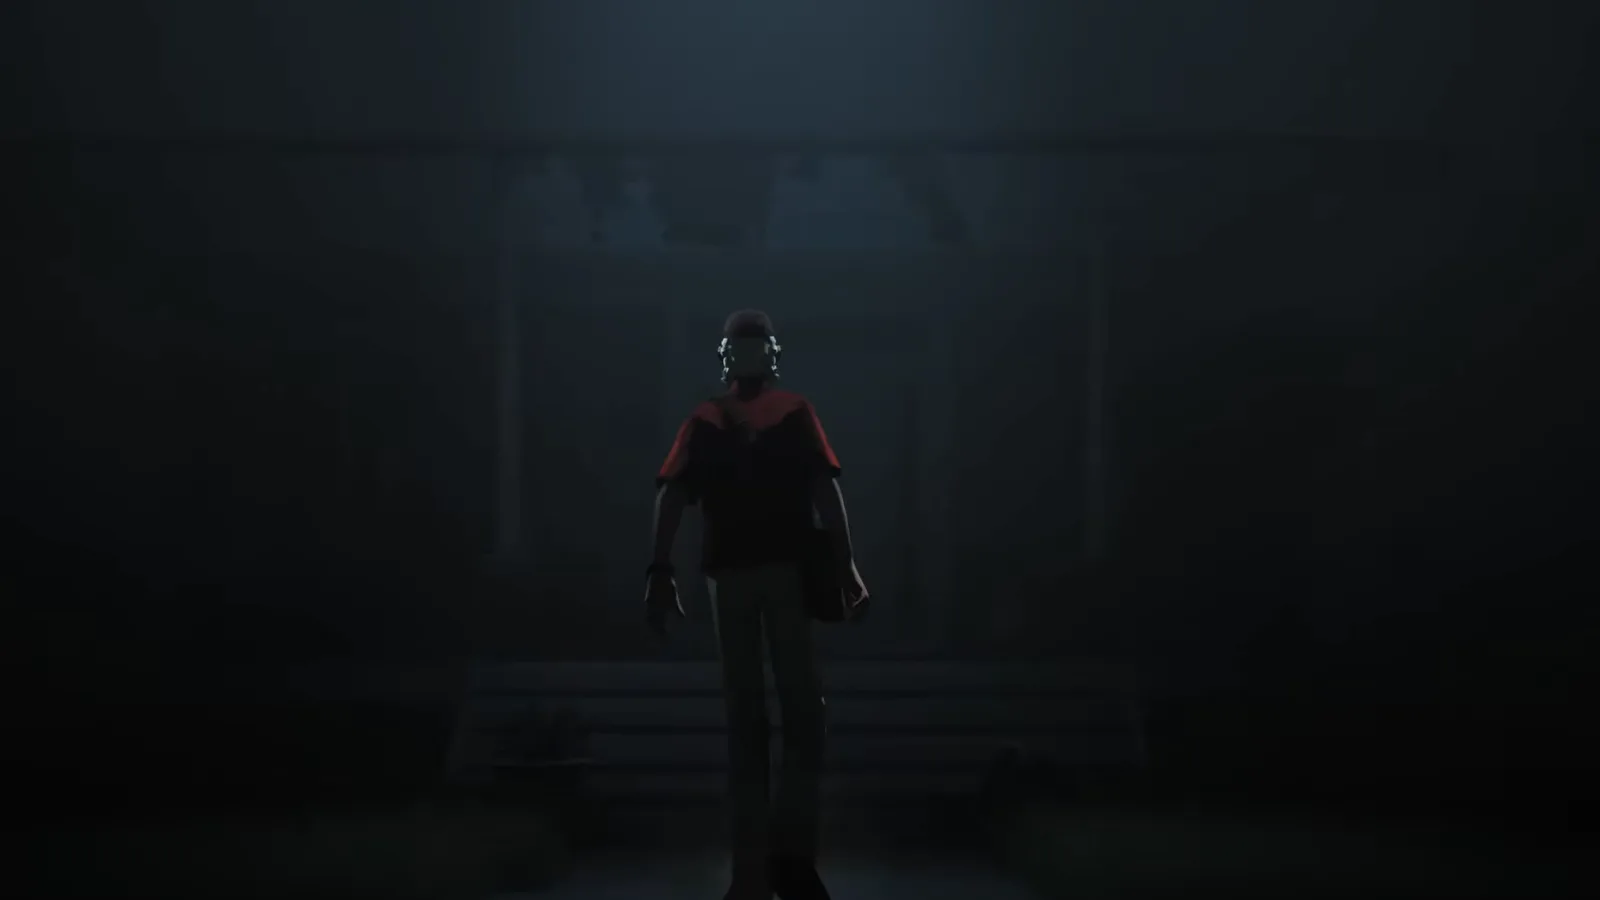
The dream’s first stop is a porch Alfred knows by heart. Watch this moment at 9:00.
At the table, a cordless phone sits in its charger with an interaction prompt. The machine announces one new message: “Good evening, Mrs. Foster. This is Dr. Klein. Please call me back as soon as you get this. Your biopsy results have arrived.”
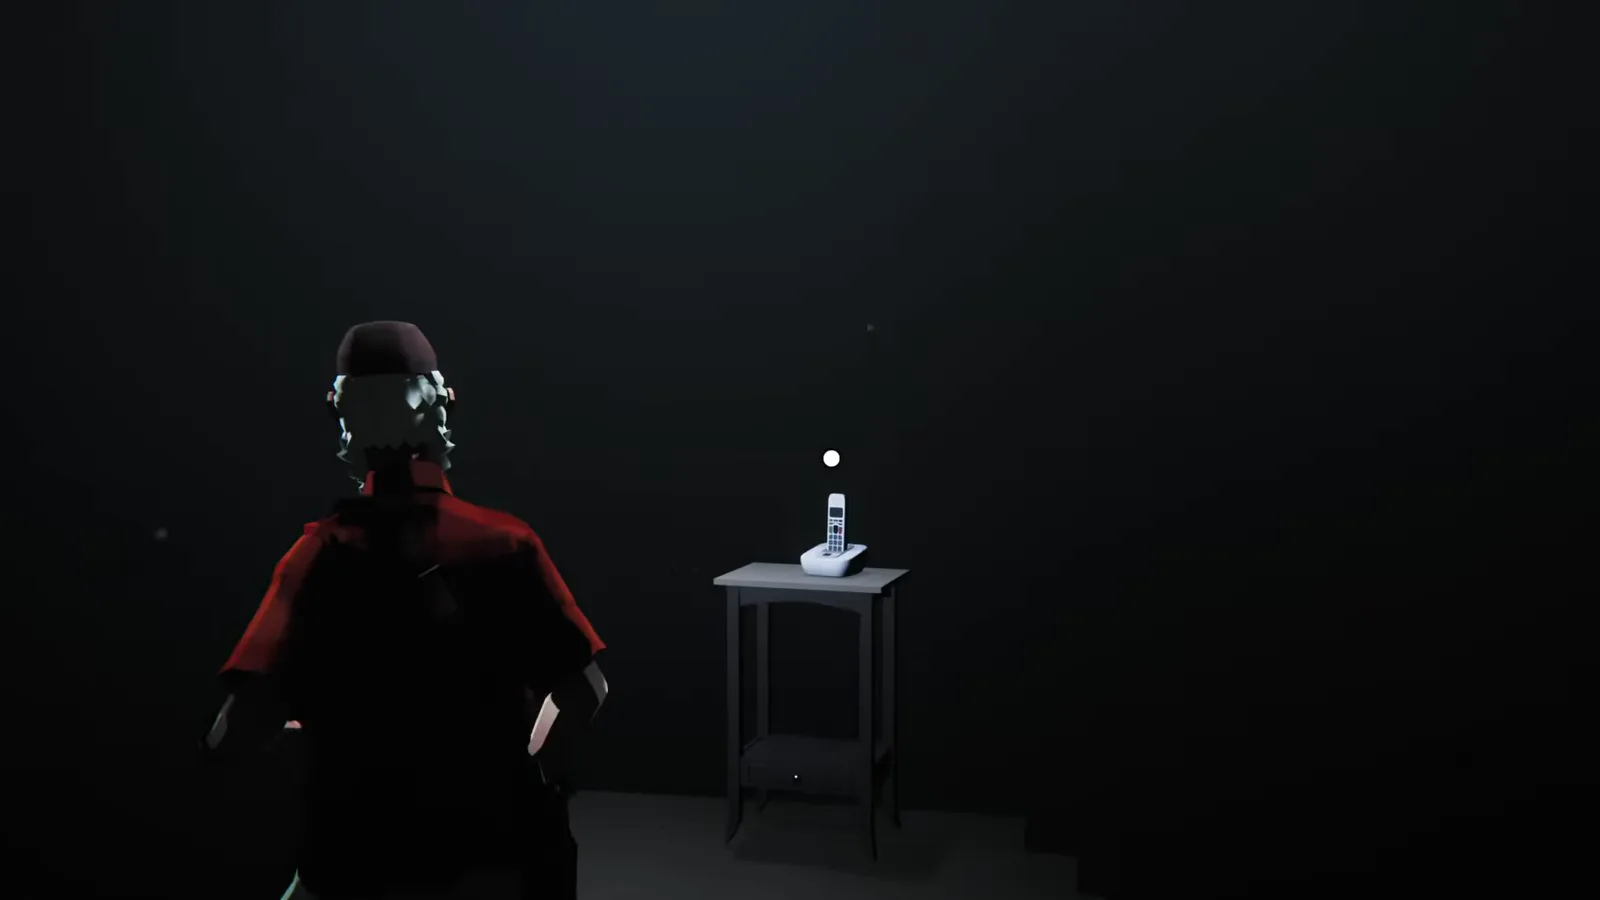
The answering machine, and the message Alfred would rather not hear. Watch this moment at 10:08.
Step 6: Let the argument play out and keep walking
What follows is the scene this section exists for: Alfred lists options — “nowadays there are drug trials, alternative therapies. We have options. We can’t give up so easily” — and Audrey answers, “I need to be alone right now. I need time to think.” The dream then funnels toward a white door surrounded by red poppies. There is nothing to solve; keep walking.
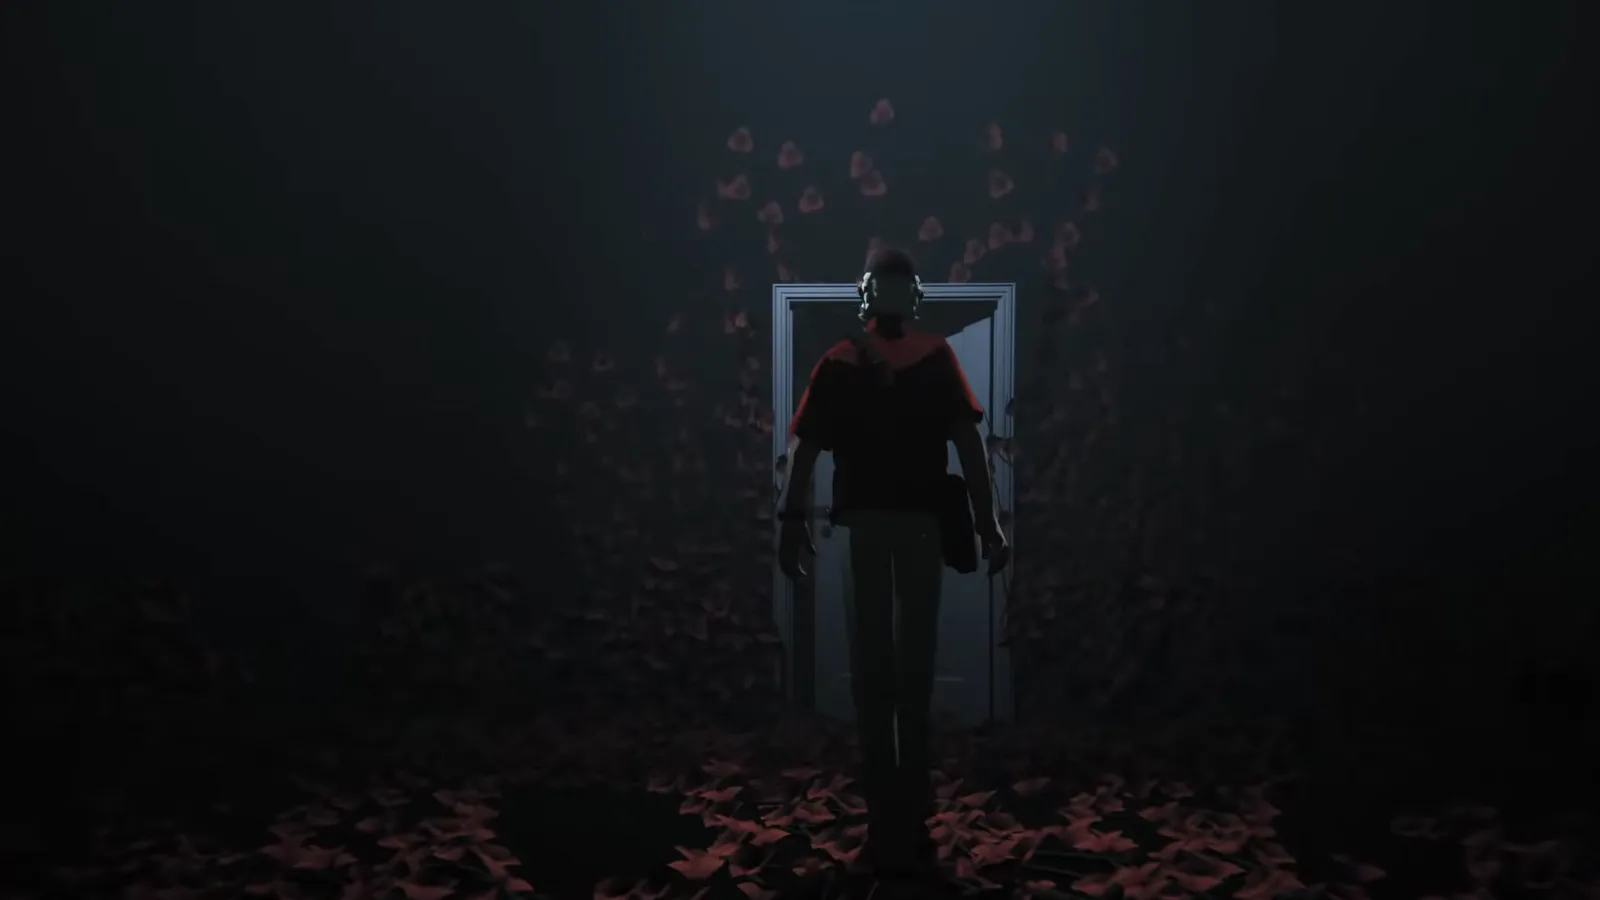
The poppy door closes the dream — walking into it ends the section. Watch this moment at 11:40.
Step 7: Wake up somewhere unfamiliar
Alfred comes to on a couch under a stranger’s roof — “What happened? Where am I? How long was I out?” — with the dog standing guard nearby. That couch is the opening of The Sam Detour, and the route continues from there to Captain Marley & the Buccaneers’ Retreat. The nine-section walkthrough keeps the whole route in view.
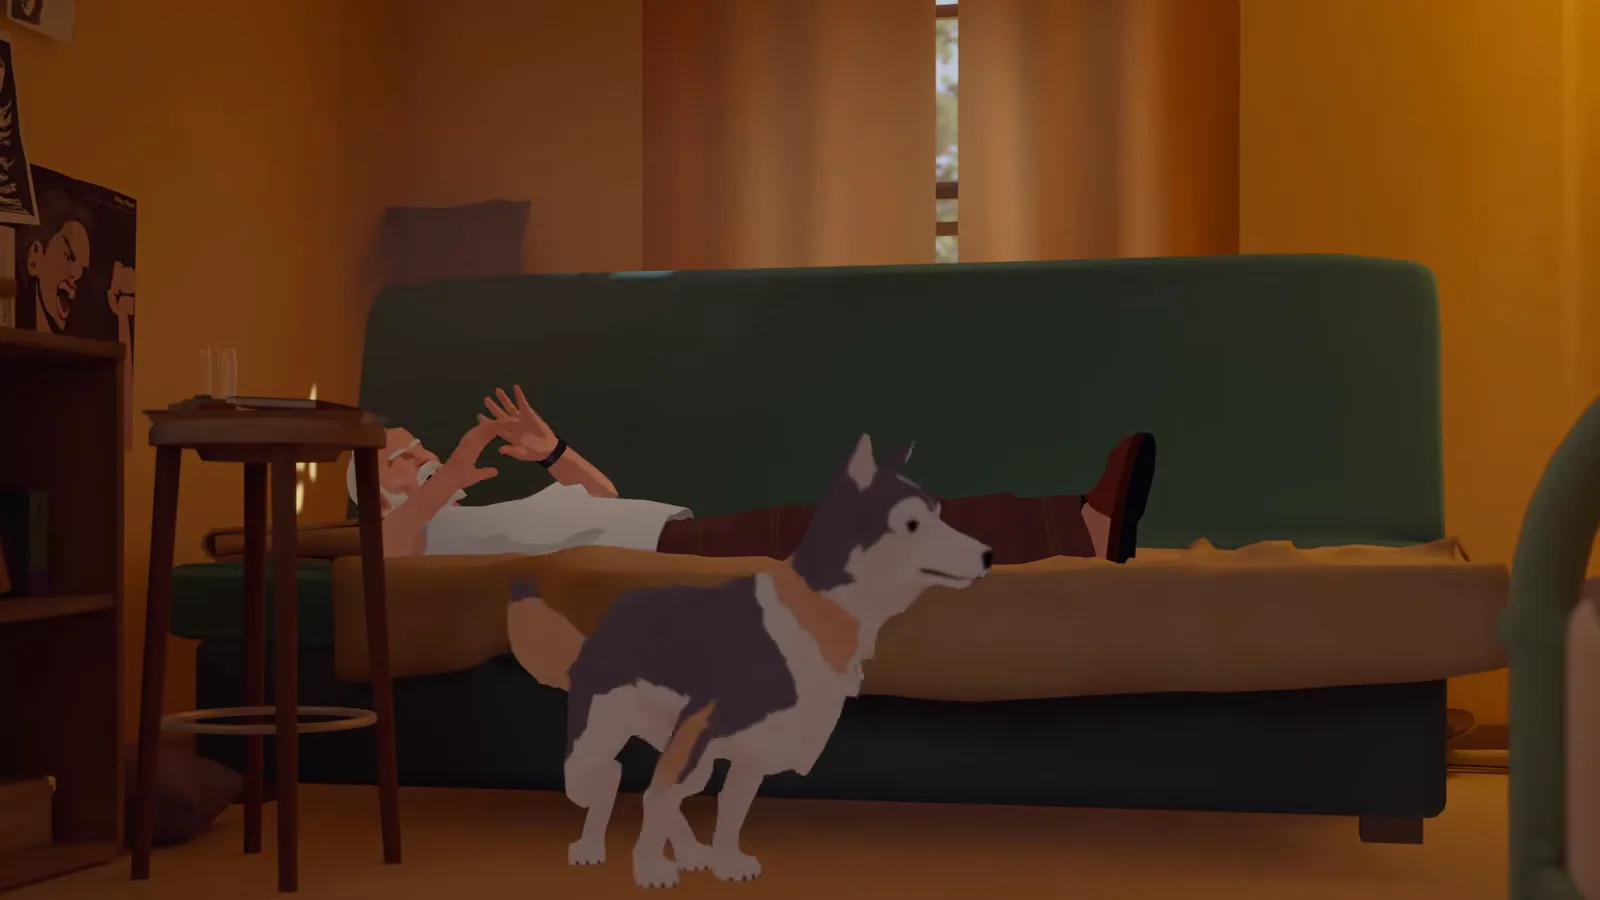
The wake-up that starts the Sam Detour. Watch this moment at 12:04.
Achievements connected to On The Road Back Home
- Trip’s Cancelled — Steam keeps the condition hidden, but the Xbox list publishes it as “You just want to go home”. This stretch is where that decision forms: Alfred declares the trip over before he ever reaches the phone booth, and acts on it the moment he wakes. The achievement list transcribes the published wordings.
- Back On The Road — the other half of the same coin (“Find a reason to keep going”, per the Xbox list). Its objective completes later in the route; this section is the low point it measures against.
Tips for this section
- There is no fail state here. The breakdown checks, the journal, and the phone booth are the only required inputs; everything else is a guided walk.
- Do not skip the checks. The leak, hood, and interior prompts are what hand control back to you — if a prompt will not appear, reposition Alfred and face the van squarely, the same fix the beginner guide recommends for finicky interactions.
- Save before quitting, not during the walk. The dream sequence runs as one unbroken scene; quitting mid-dream means replaying the phone booth.
- Watch for the dog. She has no prompts here, but she is establishing herself as the route’s fourth traveler — the Sam Detour guide picks up her thread.
Sources and scope
Steps above paraphrase this section of the Into Indie Games main-story walkthrough (accessed 2026-10-14) and were checked against gameplay footage published by GenY_Gamer on YouTube (accessed 2026-10-14). All screenshots are frames from that no-commentary video, used with credit; each caption links the exact moment the frame comes from. Dialogue quotes are the game’s own lines as shown in the footage and its subtitles. Trip’s Cancelled and Back On The Road are hidden on Steam; the conditions quoted above follow the Xbox list wording transcribed on this site’s achievement pages.
Related Articles
guides
Forever Ago Captain Marley & the Buccaneers' Retreat Walkthrough
Step-by-step Captain Marley's Buccaneers' Retreat walkthrough for Forever Ago: Audrey's resort tasks, Guardian Lord, the souvenir shop, and the island.
guides
Forever Ago Williamina Peak Walkthrough: Storm, Doggo, and the Summit
Step-by-step Williamina Peak walkthrough for Forever Ago: the storm drive, the crash dream, Doggo's snow tracks, the summit soup scene, and Audrey's final note.
guides
Forever Ago Winslow Lighthouse Walkthrough (With Screenshots)
Step-by-step Winslow Lighthouse walkthrough for Forever Ago: naming the dog, Charles and Luke, the poppy photos, the closed sign, and the memory at the top.
Was this helpful?
Thanks for the feedback!