
Forever Ago Winslow Lighthouse Walkthrough (With Screenshots)
Step-by-step Winslow Lighthouse walkthrough for Forever Ago: naming the dog, Charles and Luke, the poppy photos, the closed sign, and the memory at the top.
FAQ
What is the dog's name in Forever Ago?
Can you go inside Winslow Lighthouse?
How do you start the lighthouse memory?
Who are Charles and Luke?
Which achievements are connected to this section?
Story spoilers: this guide covers the full Winslow Lighthouse day, including the memory at the top of the tower and what it says about Audrey’s last climb.
Winslow Lighthouse is the seventh stretch of the main story route, straight after Captain Marley & the Buccaneers’ Retreat. It is the quietest section of the route: one errand, one campground morning, a hike with a new friend, and a lighthouse that memory — not the present day — lets you climb. There are no puzzles here, so this page stays close to the walkthrough’s interaction list and the moments worth photographing. Every screenshot comes from published gameplay footage, credited in the source note, and each caption links the exact moment in that video.
Winslow Lighthouse walkthrough, step by step
Step 1: The animal shelter stop — and a name
The route’s first errand is a good one: Alfred drives the stray to an animal shelter, planning to hand her off — “Go in there and tell them that I’ve found a dog and I don’t know who she belongs to.” He comes back out having changed his mind (“I was wrong… it’s just not a good fit”), and the naming question answers itself: “From trash piles to saving an old man’s life. So I guess you earned it.”
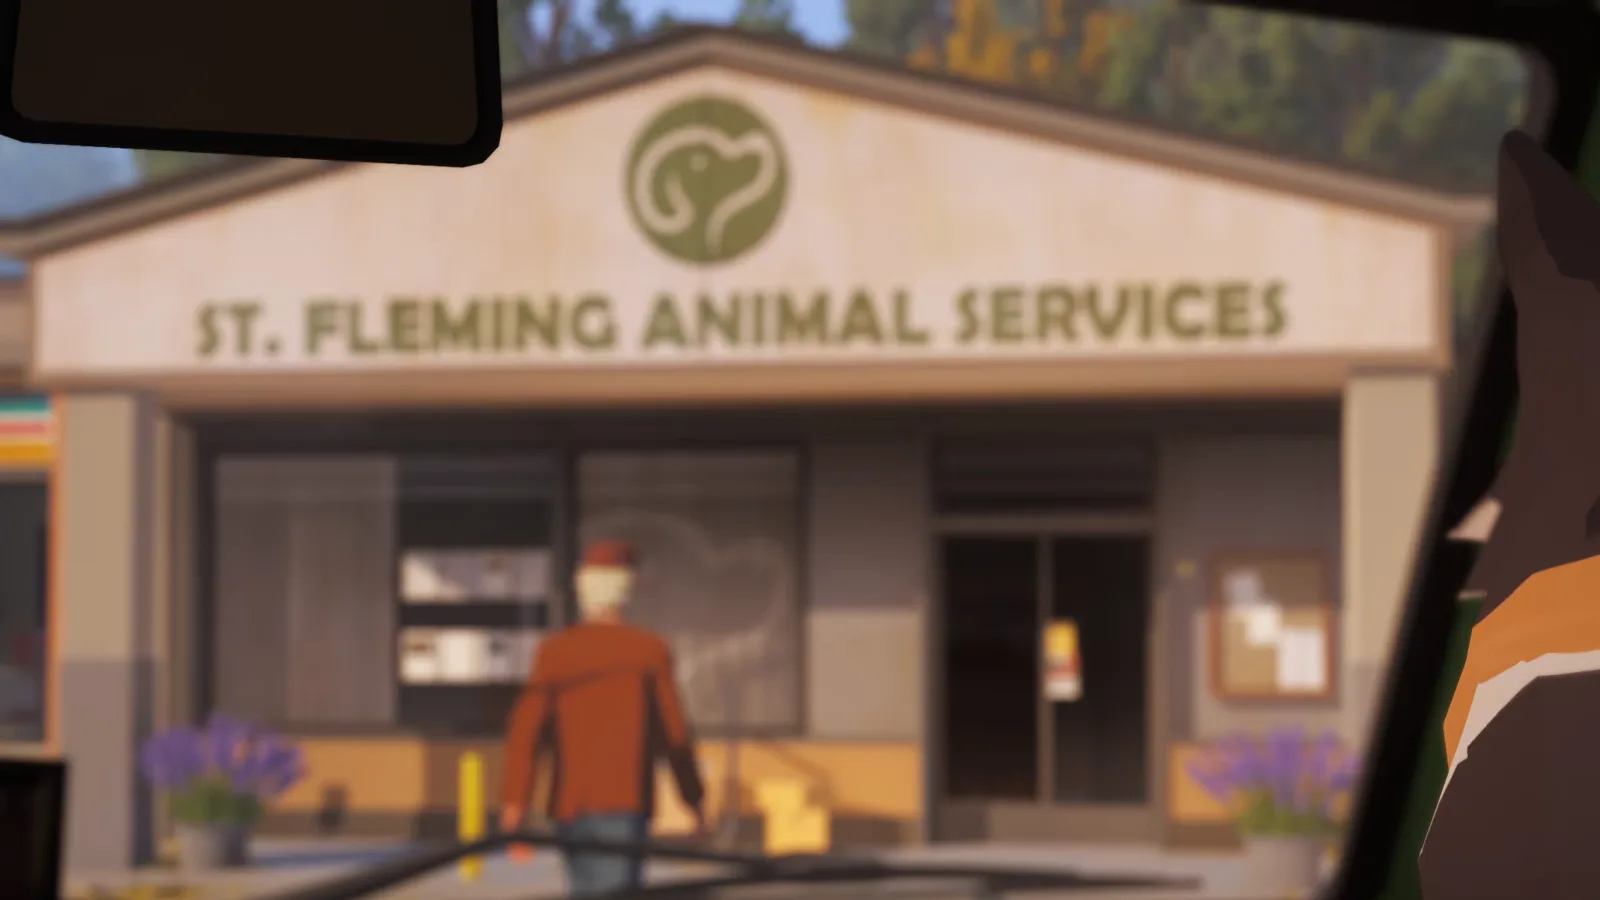
St. Fleming Animal Services — the visit that ends with a decision instead. Watch this moment at 2:59:12.
The Xbox list publishes the What’s In A Name condition as “Give Doggo a name” — this stop is where the stray becomes Hope. Steam keeps the condition hidden; the achievement list transcribes the published wordings.
Step 2: Coffee, breakfast, and Charles
Back at the campground, the morning routine is the walkthrough’s next beat: make the coffee, feed the dog, and get moving. “First coffee. Hope you slept well. We have quite a hike ahead of us today” — and breakfast for Hope comes with house rules: “You get what you get and you don’t throw a fit.”
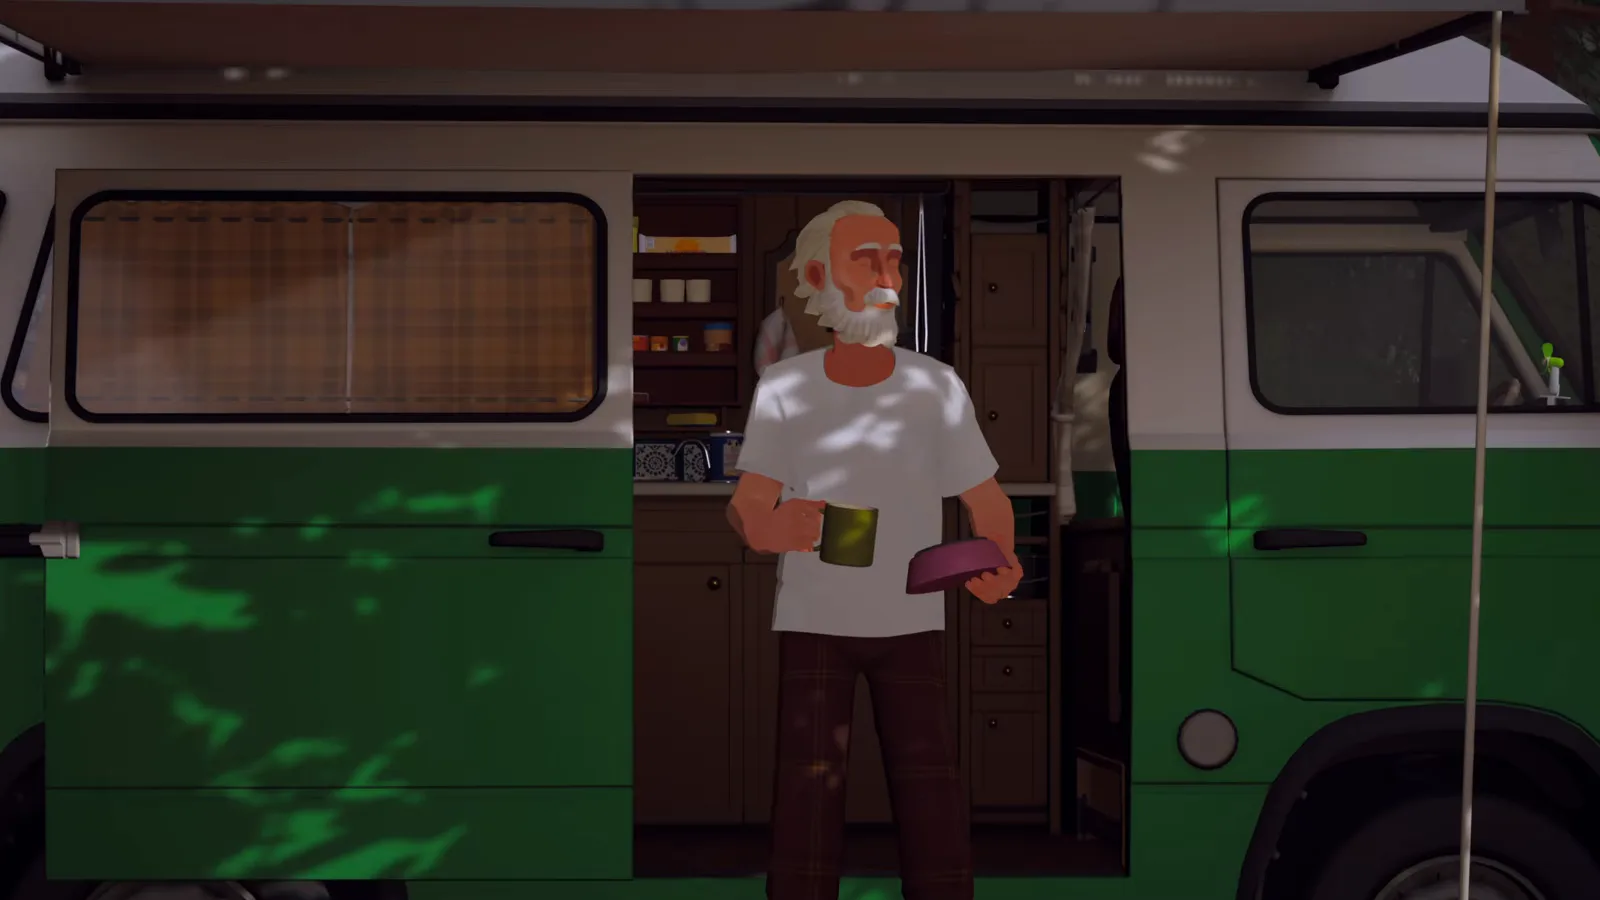
Mug in one hand, Hope’s bowl in the other. Watch this moment at 3:01:48.
The published Alright, First Coffee condition — “Finish your day trip to the lighthouse” (Xbox list) — covers this whole day, coffee included. Over breakfast, a fellow camper introduces himself: “My name’s Charles, but friends call me Charlie,” traveling with his sixteen-year-old dog Luke, who is working through a degenerative myelopathy diagnosis and a recent kidney disease finding on top of it. Charlie’s plan for the day is simple: “I always wanted to take Luke to see the great sea.”
The first conversation with Charles — Charlie to his friends. Watch this moment at 3:02:00.
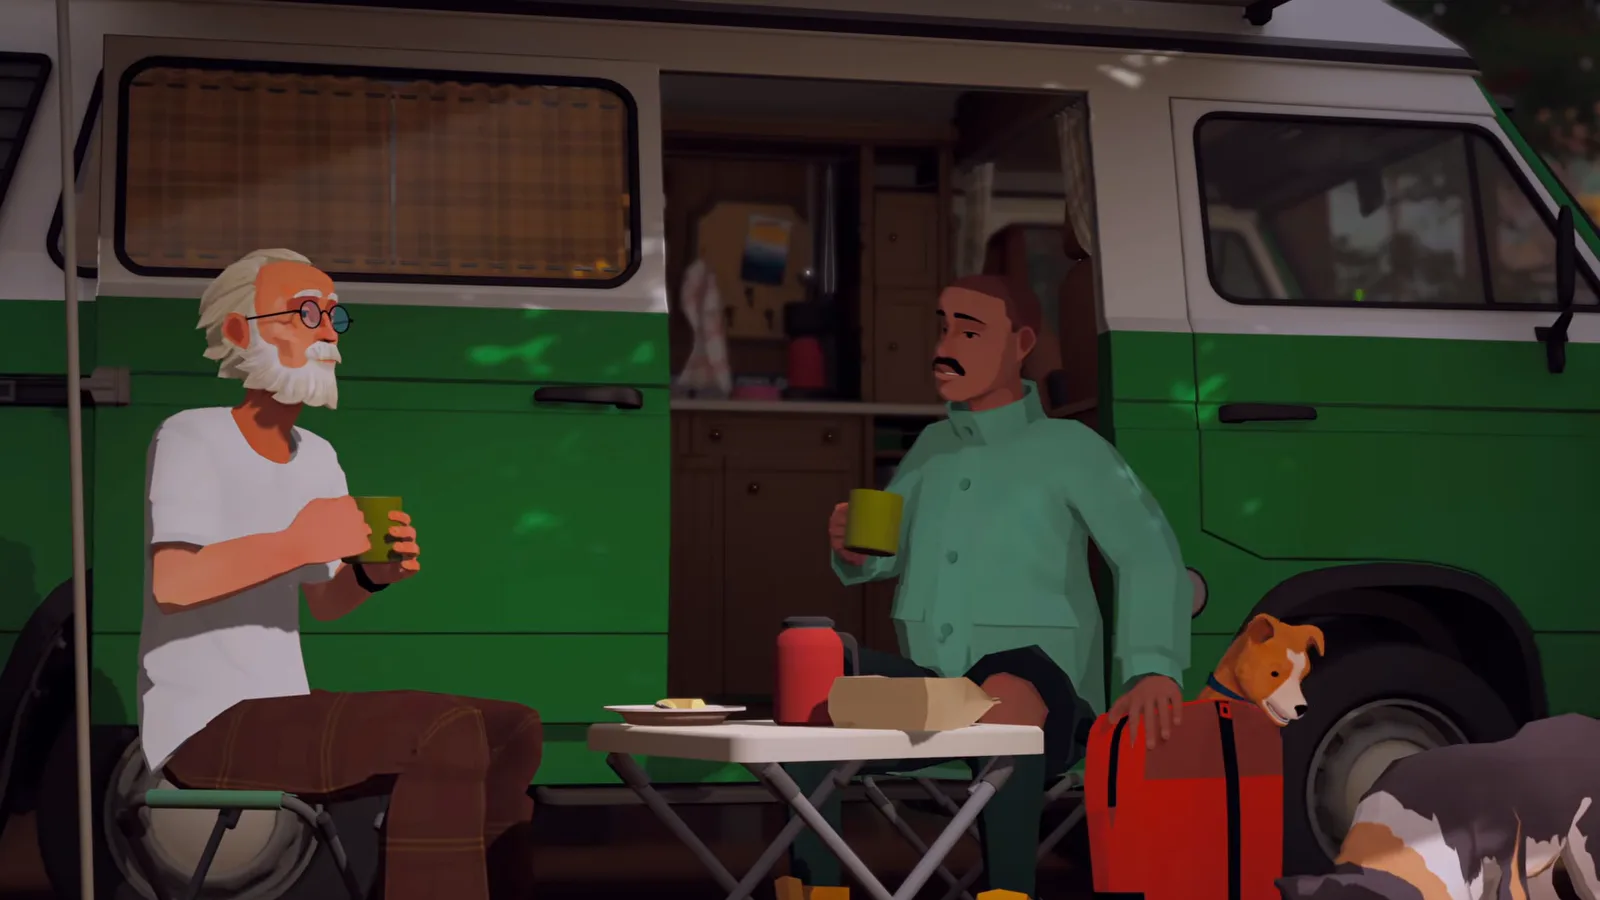
Two travelers, two dogs, one folding table. Watch this moment at 3:03:20.
Step 3: The hike: poppies, photos, and a bird’s nest
The path to the lighthouse is linear. Keep throwing sticks when the game offers them — fetch opportunities here feed the same Olympic-Level Stick Thrower counter that starts back at Sam’s homestead. The walkthrough calls out one photo stop: Alfred still knows his wife’s flowers on sight — “Just this type of flower is a pretty special one… They were my wife’s favorites” — and the viewfinder frame fills with red.
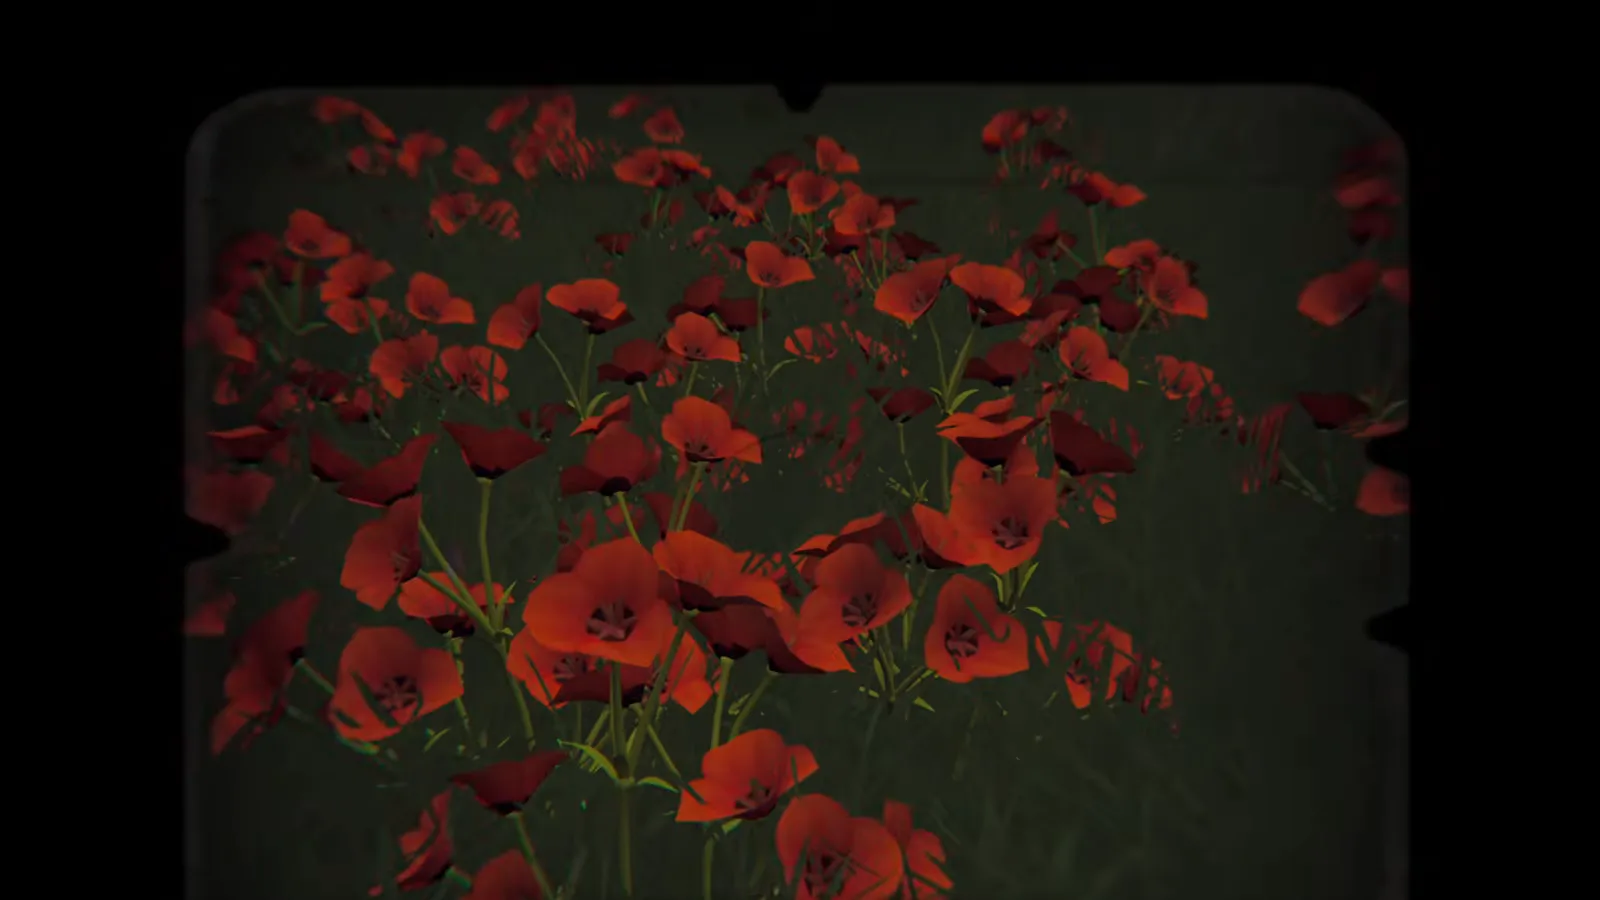
The poppy photograph on the trail. Watch this moment at 3:05:38.
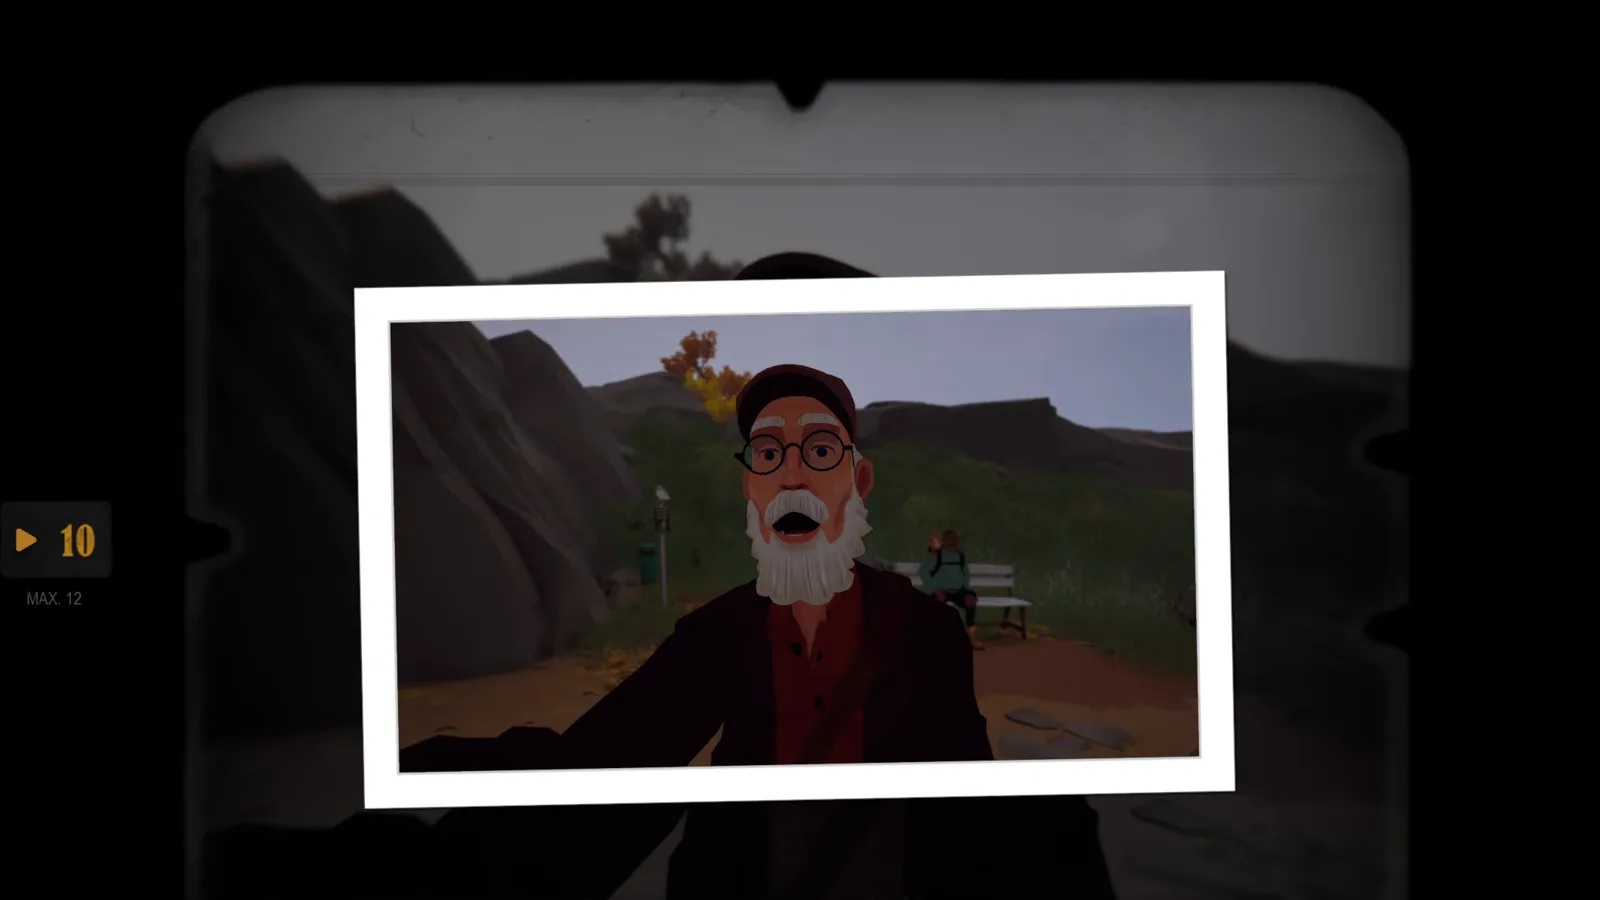
Charlie’s rest stops are photo moments too — the walkthrough notes the camera changes automatically when he sits down, so keep taking the prompted pictures. One of them is Luke’s medication scene: “Here comes the peanut butter… It’s really important you take these.”
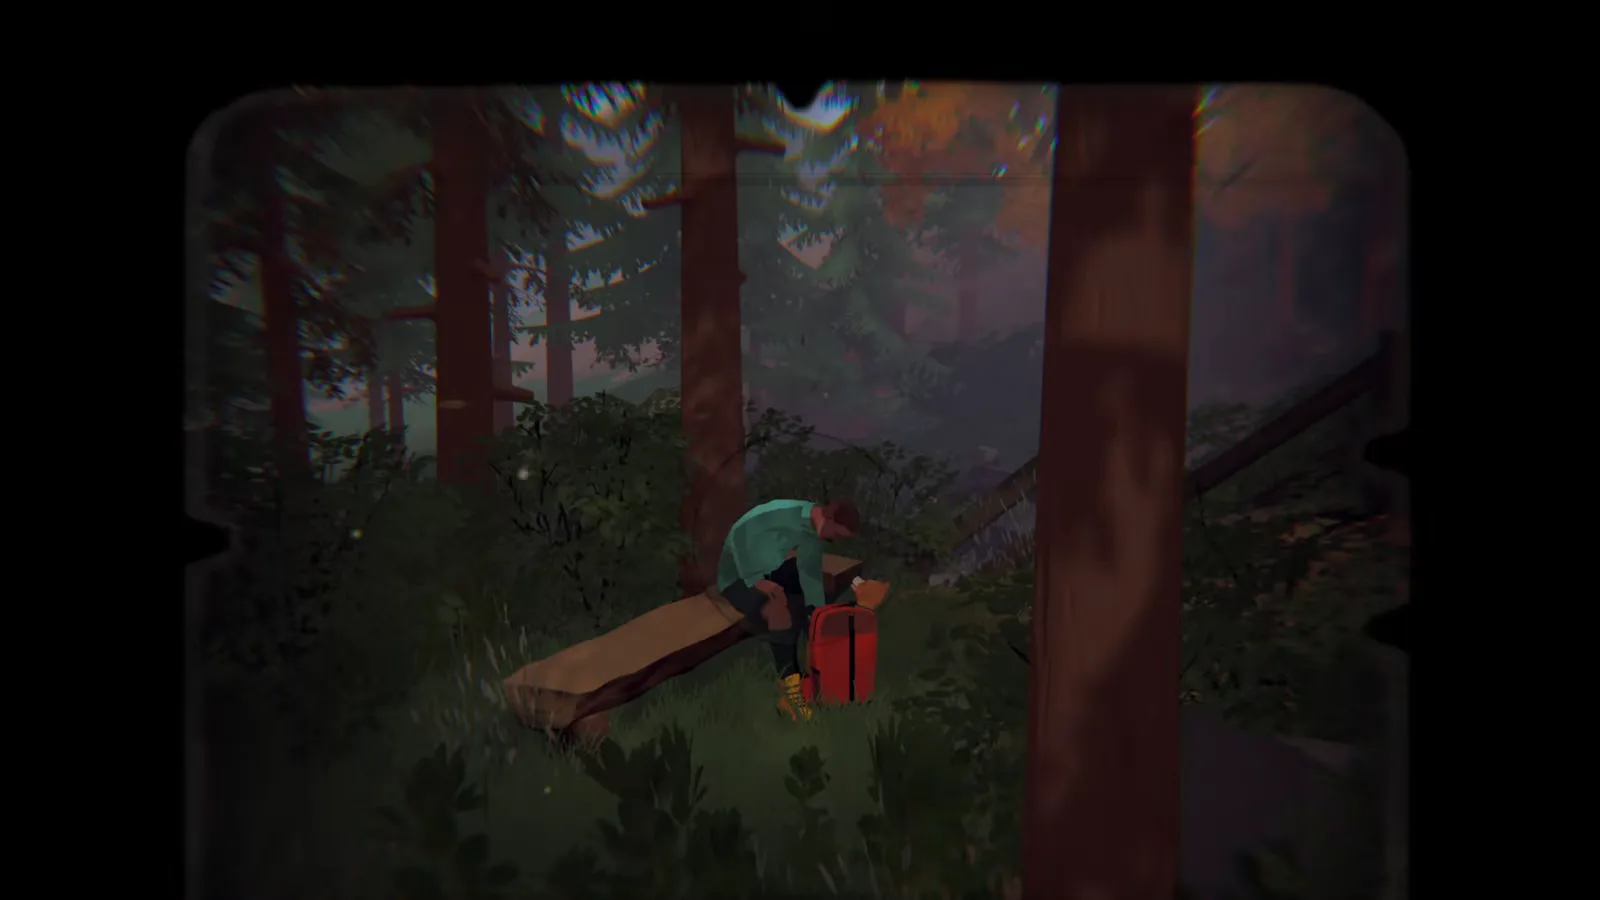
Charlie and Luke on the bench, mid-photograph. Watch this moment at 3:06:30.
On this stretch the walkthrough also flags the section’s photo choice: a bird’s nest appears, and the It’s A Bird, It’s A Plane, It’s Doggo condition (“Take a photo of Doggo instead of the bird’s nest”, per the Xbox list) rewards pointing the lens at Hope when it does. “Hey, calm down or you’ll scare them off.”
Step 4: The closed sign at the lighthouse gate
The tower appears through the pines long before you reach it. At the gate, the walkthrough’s instruction is to read the sign — and the sign is unambiguous: “No trespassing. Temporarily closed. Due to structural deficiencies, Winslow Lighthouse is temporarily closed during the storm season.” Charlie takes it in stride: “Take your time, do what you need to do. We’ll be here, preparing for the hike back. Mentally.”
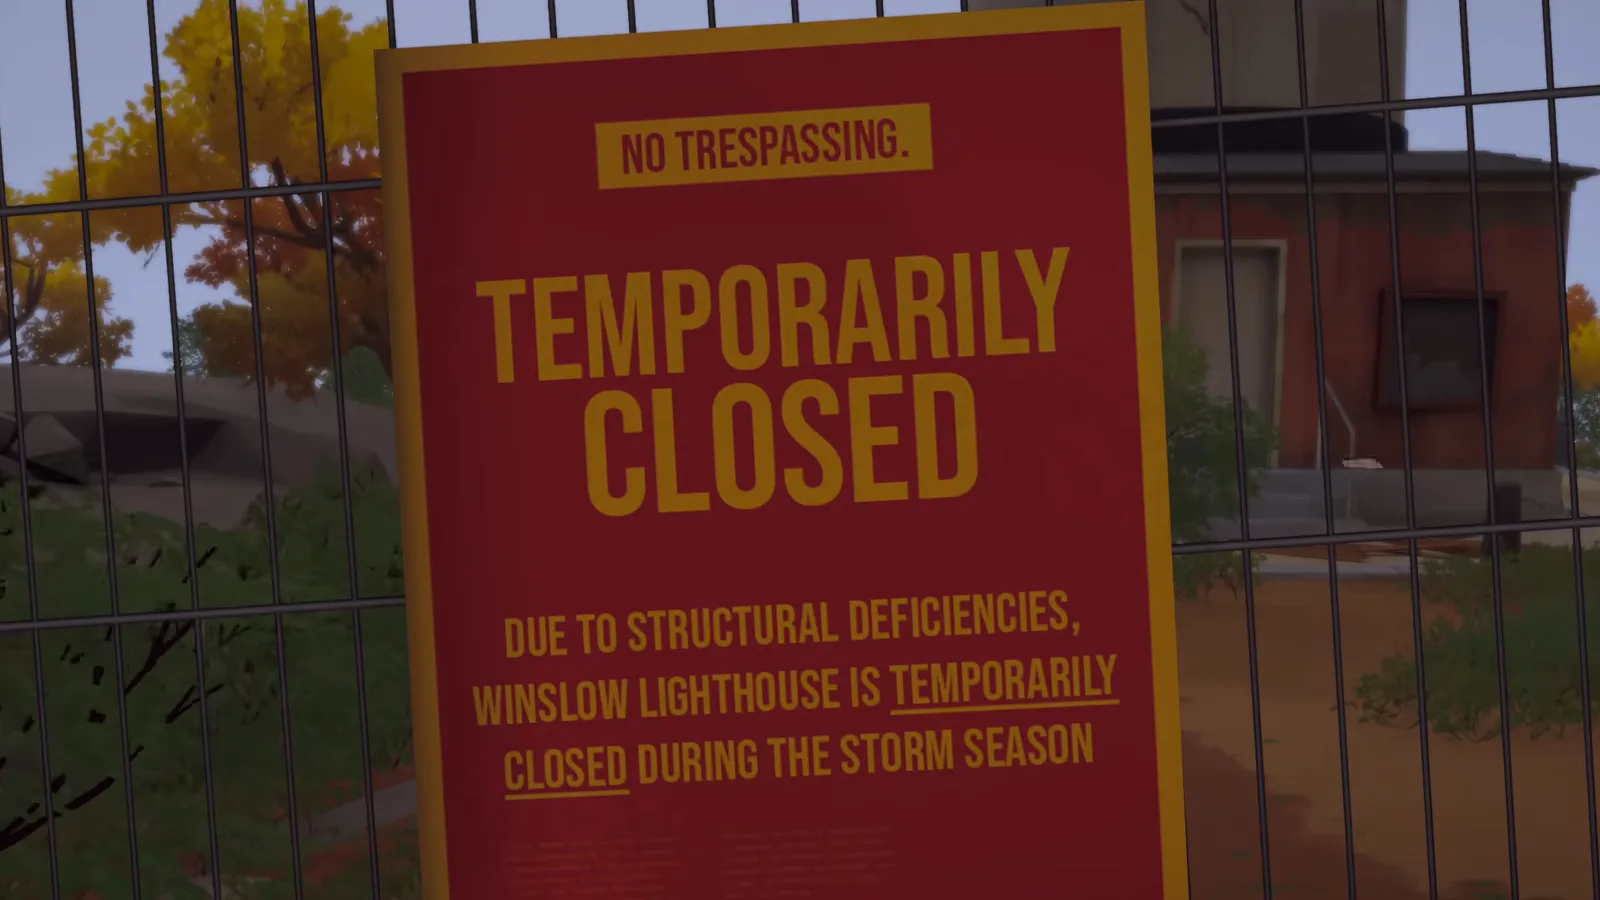
The storm-season closure notice at the lighthouse gate. Watch this moment at 3:10:20.
First sight of the tower on the approach path. Watch this moment at 3:10:00.
Step 5: Photograph the top of the lighthouse
Closed is not the same as finished. The walkthrough directs you to aim the camera at the top of the lighthouse and take the photograph — and the picture starts the section’s memory. Alfred’s journal page for this stop, sketched in Audrey’s hand, explains why: “You barely took any photos last time we were here. Time to fix that!” and “Make it to the top of the lighthouse. The view was simply breathtaking!”
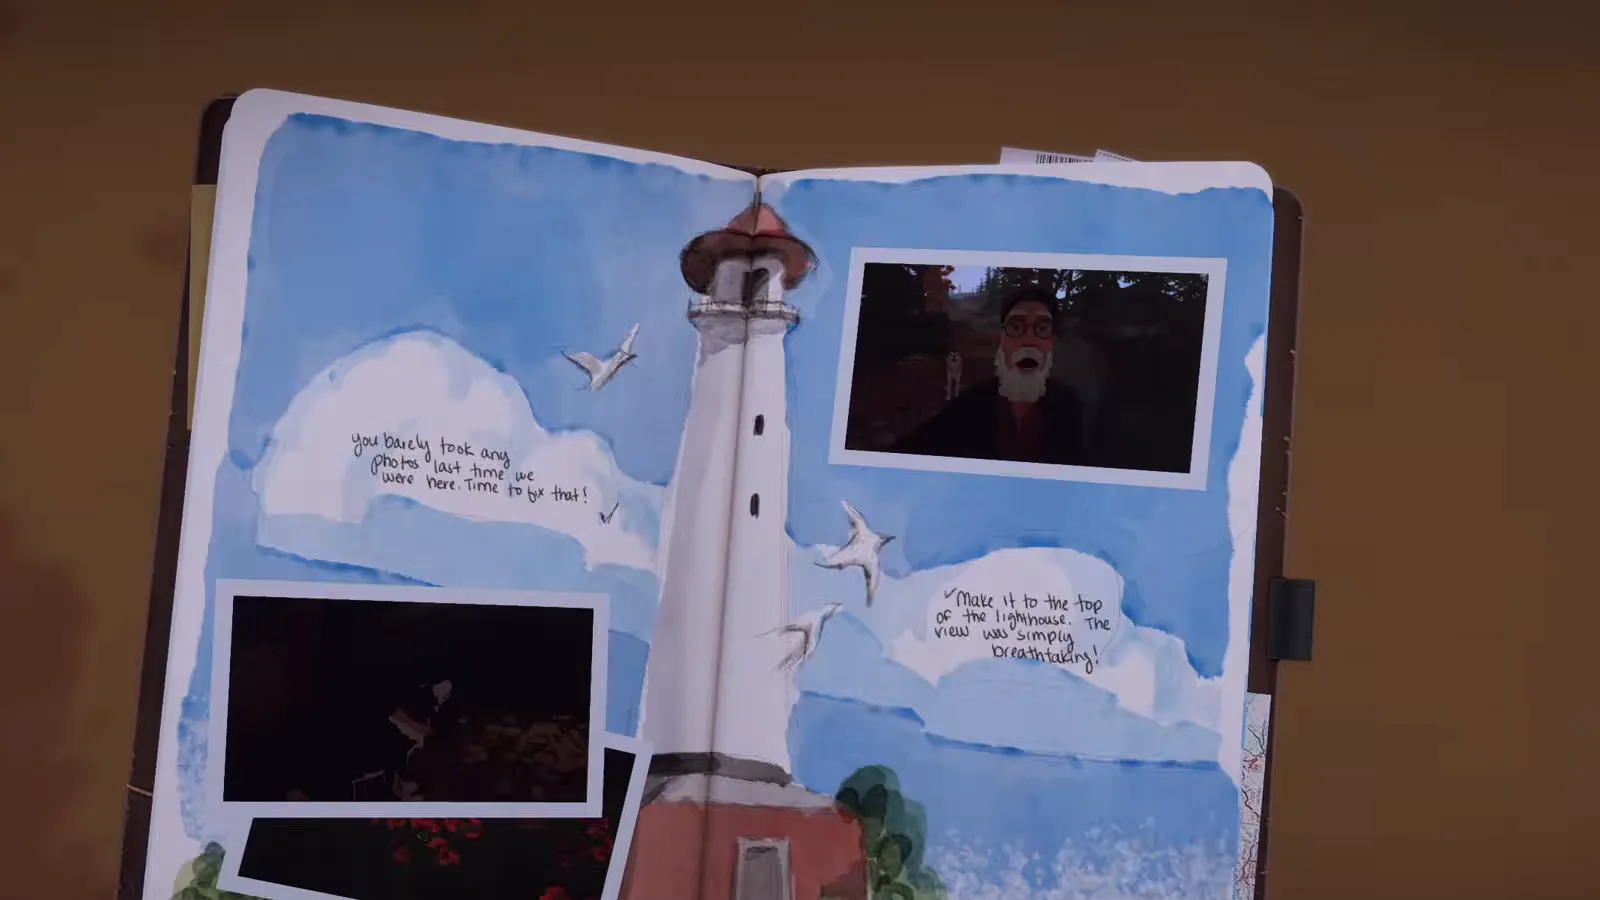
The journal page for this stop — Audrey’s handwriting sets the agenda. Watch this moment at 3:11:00.
Step 6: The memory at the top
Inside the memory, the lighthouse is open. The walkthrough’s line — “Enter the lighthouse, climb the stairs, and let the closing scenes of this section play out” — is exactly what happens: Alfred follows Audrey up the gallery stairs while she teases him for worrying, “I’m up here. Alfie, what are you doing? You need to be careful for God’s sake.”
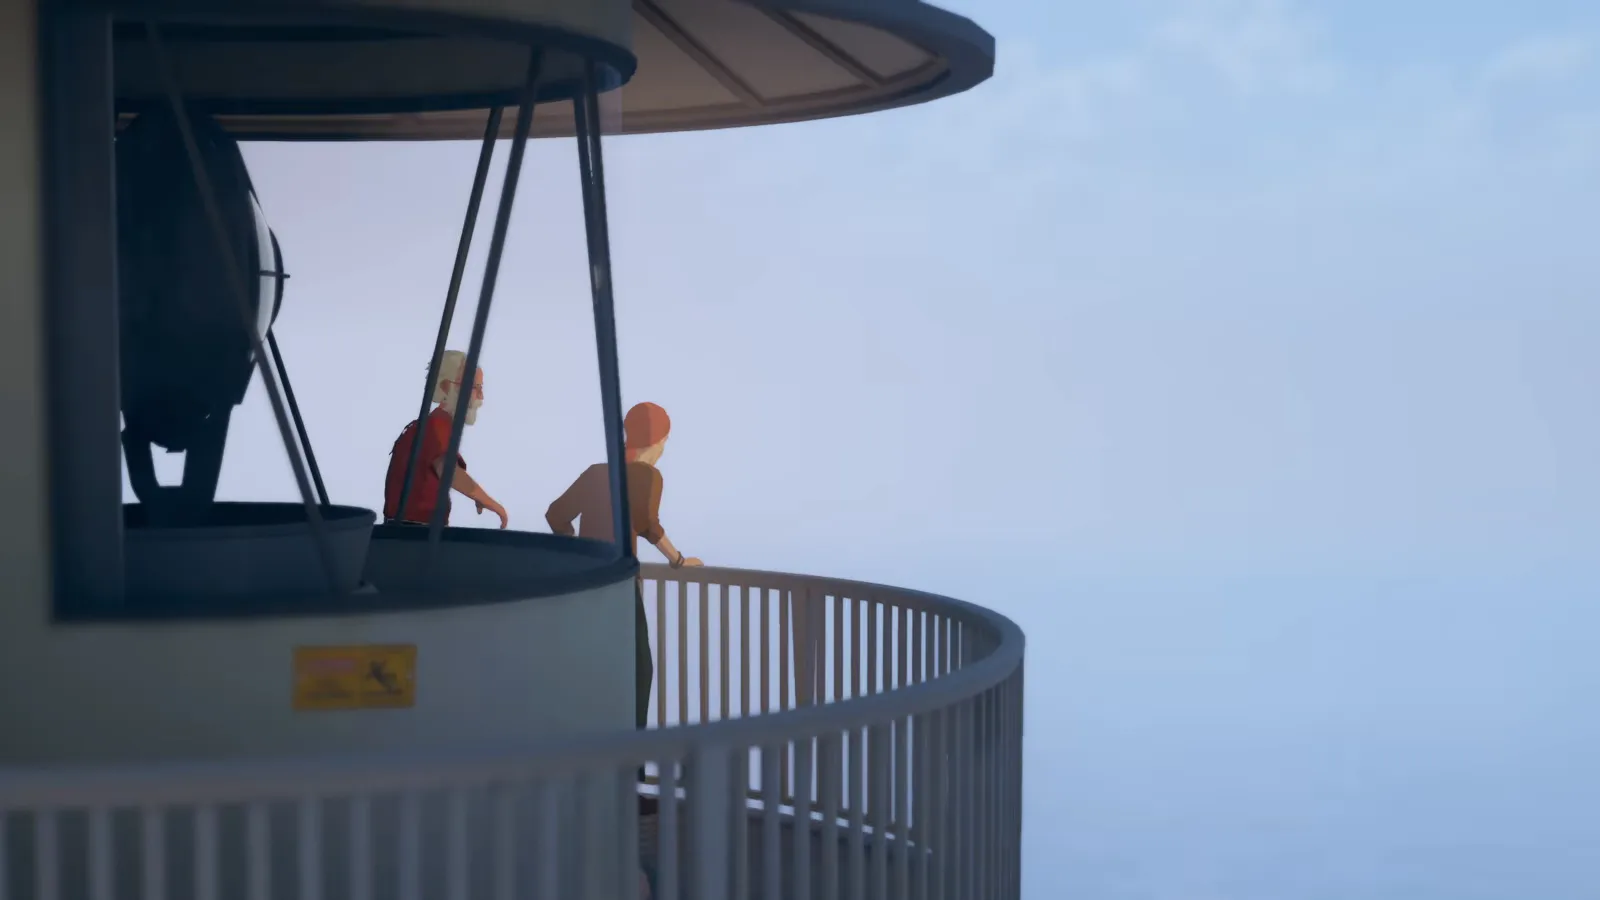
The memory’s climb — Audrey first, always. Watch this moment at 3:12:30.
At the top, the view does the talking: “Look, we can even see Williamina Peak. It’s closer than I thought. If the weather stays like this, I’m sure we can make it before sunset.” Audrey’s answer — “Alfie, I don’t think I can” — is the line that sends the route north, and the ending guide keeps its full context for the finale.
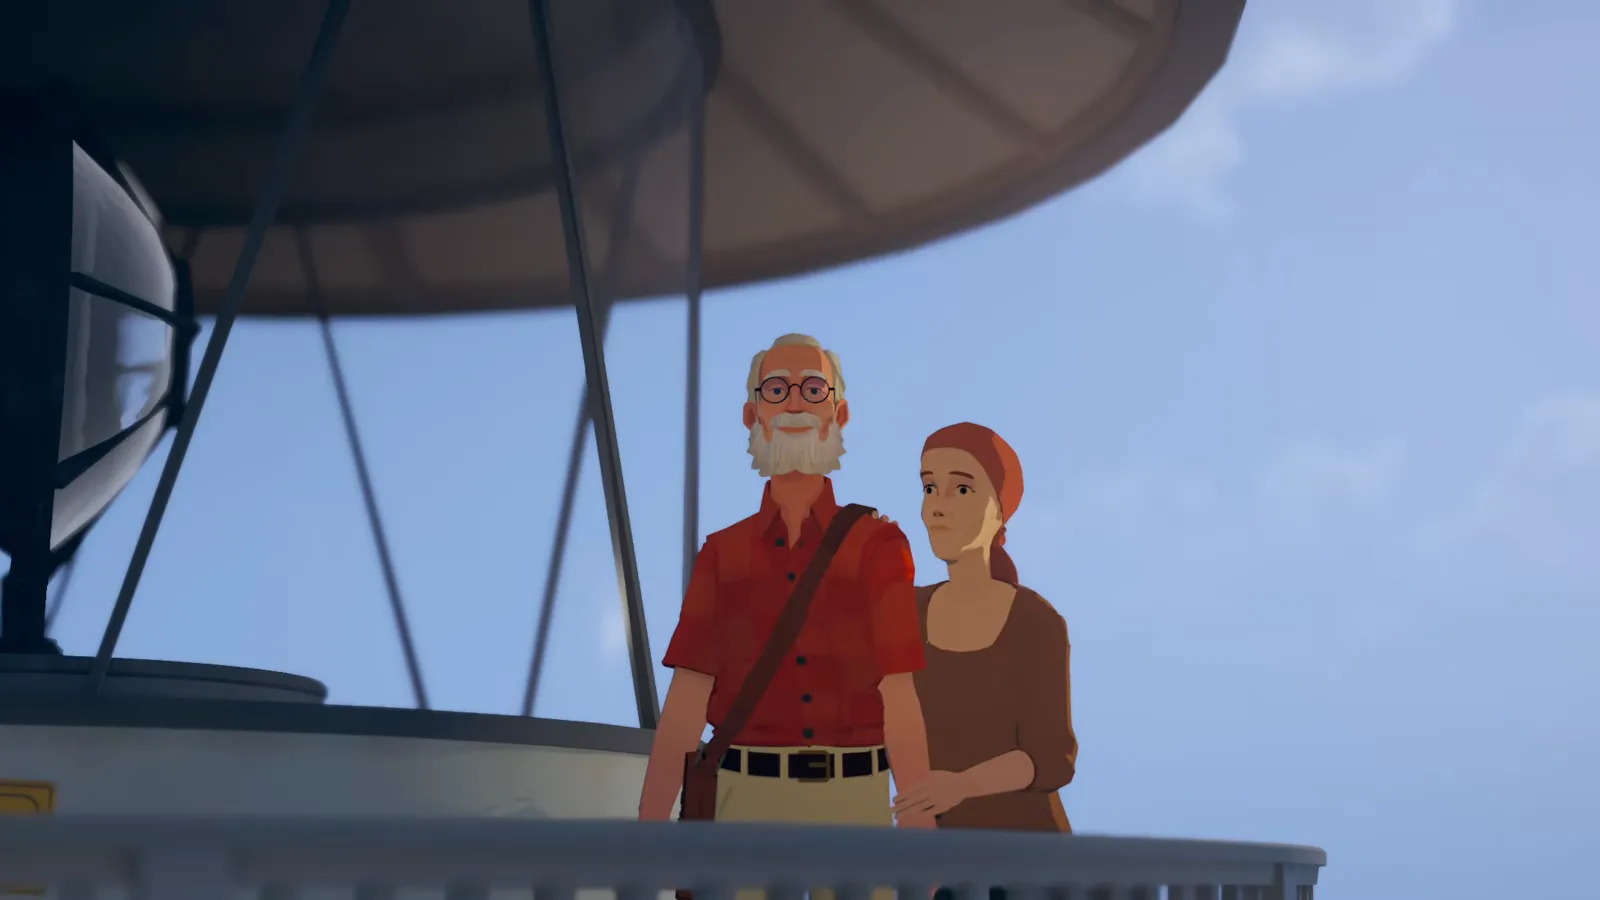
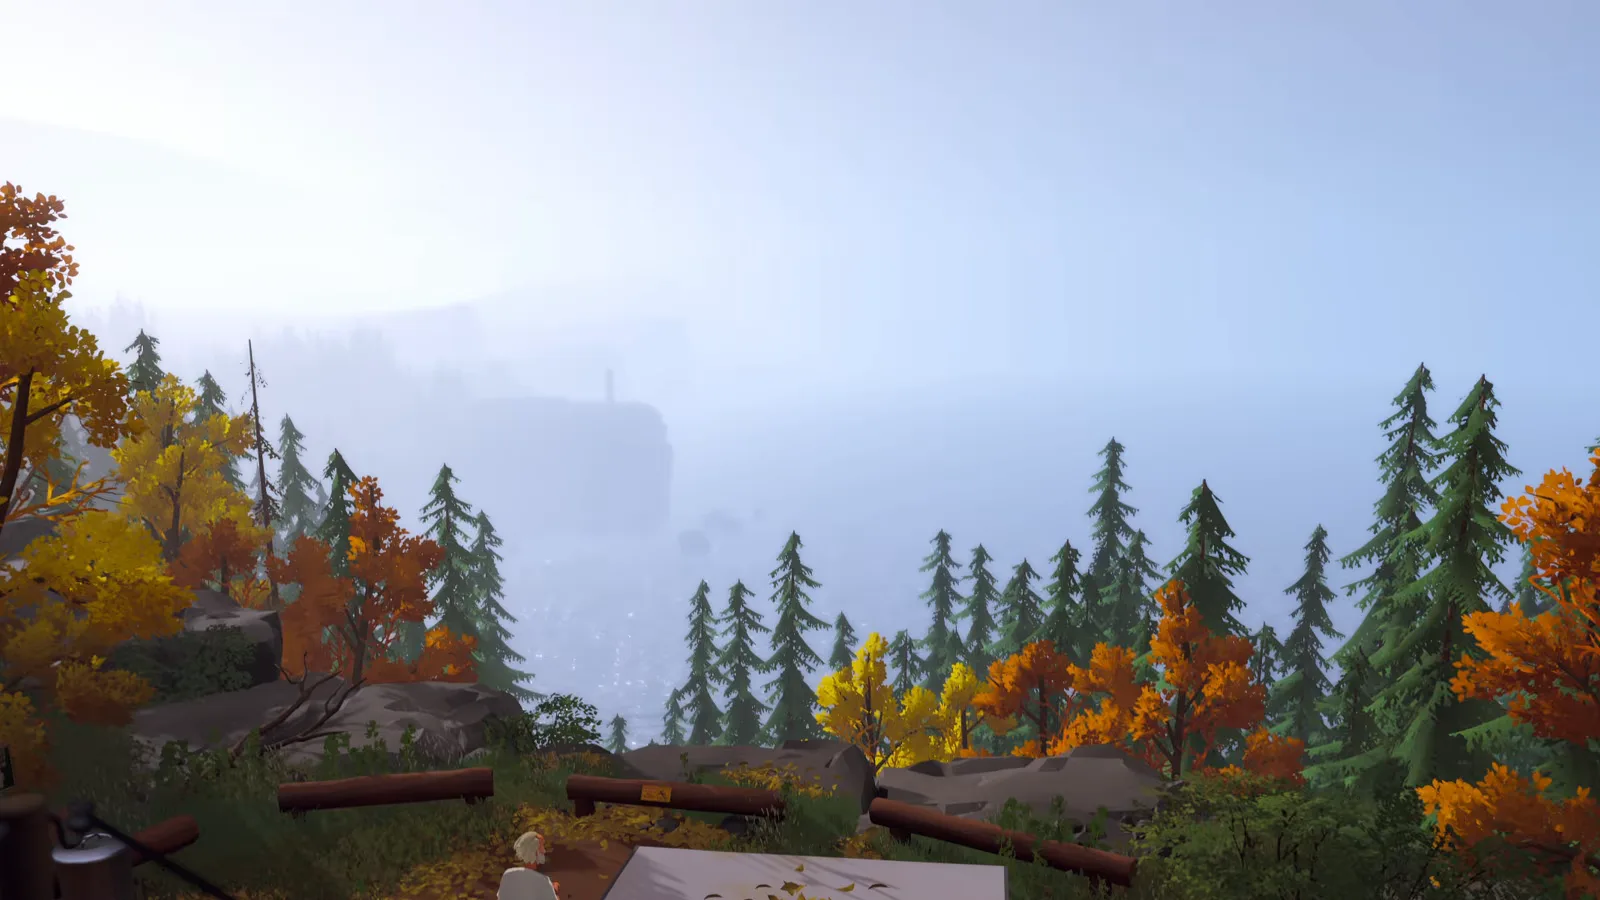
The gallery view, and the mountain on the horizon. Watch this moment at 3:13:00.
Step 7: Bagels, and goodbye to Charlie and Luke
Back in the present, the day ends where it started, with Charlie. He leaves early the next morning — “you might need to get some bagels for yourself this time” — and hands Alfred the section’s parting thought: “I believe we live longer because we need a lifetime to learn what it means to love and care… dogs like Luke already understand all that. Maybe that’s why he doesn’t stay as long. He’s already done what he came here to do.” Then, of Hope: “You take good care of Hope. You understand?”
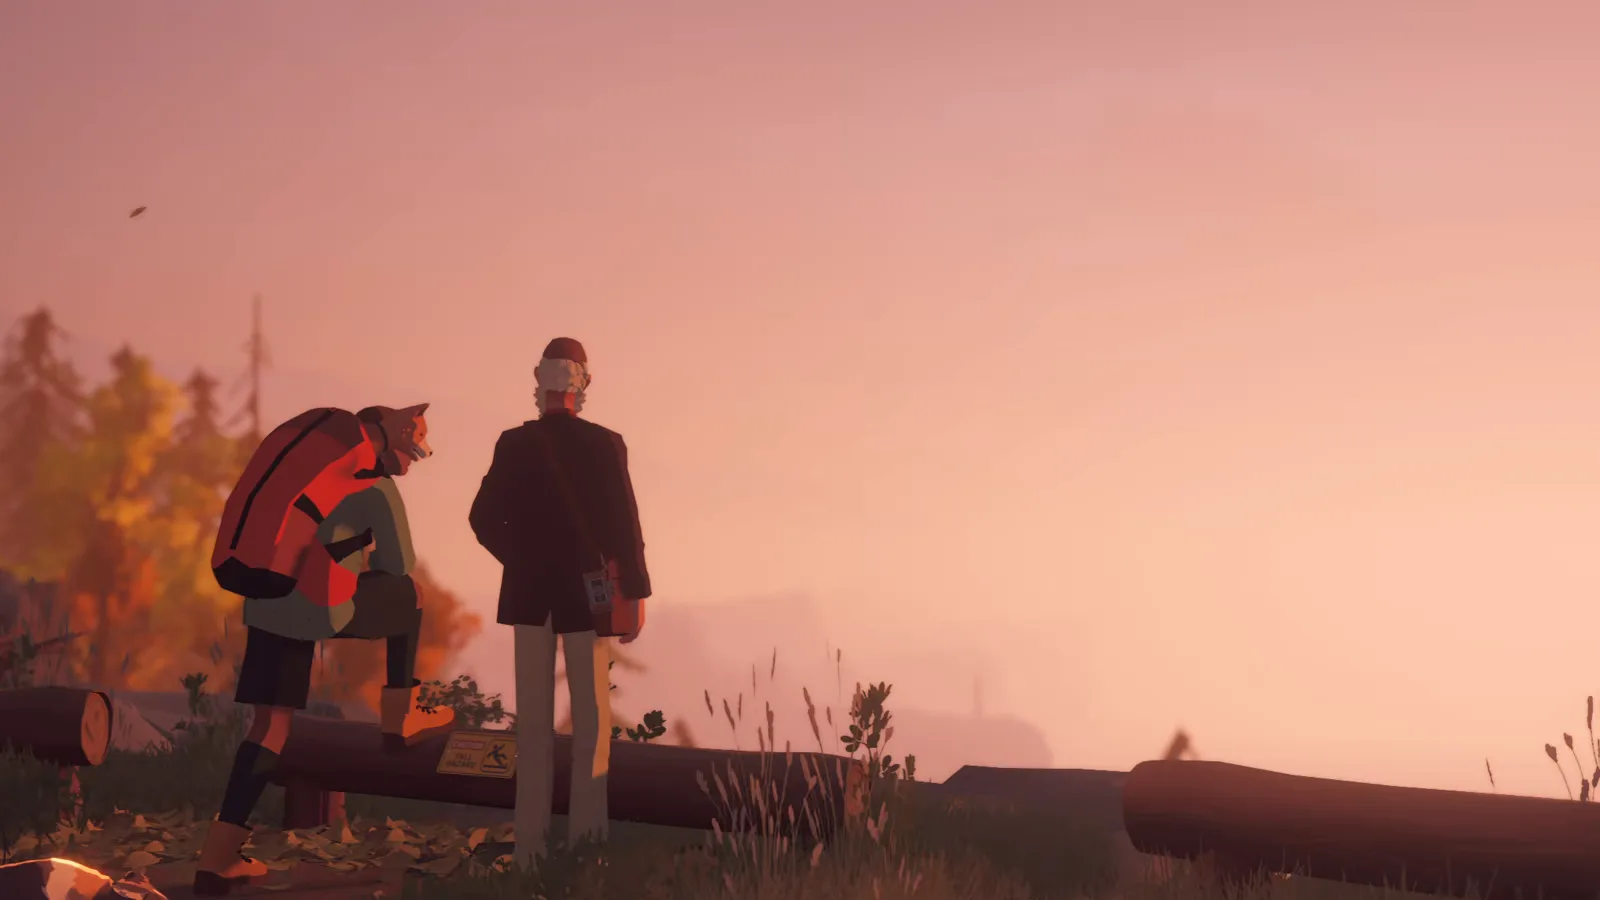
Charlie and Alfred at sunset, the day done. Watch this moment at 3:16:00.
The route continues north to Williamina Peak — the mountain Audrey pointed at from the gallery — and the nine-section walkthrough carries the story from there to the ending. If you are building photo count, this section’s prompted pictures add up quietly; the beginner guide covers the camera loop they all follow.
Achievements connected to Winslow Lighthouse
- Alright, First Coffee — “Finish your day trip to the lighthouse” (Xbox list; hidden on Steam). The whole day, coffee through farewell.
- What’s In A Name — “Give Doggo a name” (Xbox list; hidden on Steam). The shelter stop in step 1.
- It’s A Bird, It’s A Plane, It’s Doggo — “Take a photo of Doggo instead of the bird’s nest” (Xbox list; hidden on Steam). The hike choice in step 3.
- Olympic-Level Stick Thrower — “Start three rounds of fetch with Doggo” (Xbox list; hidden on Steam). The trail’s stick throws continue the counter that begins at Sam’s.
Tips for this section
- Take every prompted photo. The camera moments with Charles are the section’s only inputs, and they all count toward the 25- and 50-photo milestones tracked in the achievement list.
- Read the sign before aiming the camera. The closure notice is the section’s best piece of worldbuilding — and the memory it precedes only lands if you know the tower is off limits.
- Talk to Charlie twice. His morning and farewell conversations carry the section’s theme; the walkthrough marks the farewell as a scene, so let it finish on its own.
- No prompts, no problem. If an interaction will not appear, the beginner guide’s repositioning advice applies here as everywhere else.
Sources and scope
Steps above paraphrase this section of the Into Indie Games main-story walkthrough (accessed 2026-10-14) and were checked against gameplay footage published by Adventure Vault on YouTube (accessed 2026-10-14). All screenshots are frames from that no-commentary video, used with credit; each caption links the exact moment the frame comes from. Dialogue quotes and the readable sign and journal text are the game’s own words as shown in the footage and its subtitles. The four achievement conditions quoted above follow the Xbox list wording transcribed on this site’s achievement pages; Steam keeps them hidden.
Related Articles
guides
Forever Ago Captain Marley & the Buccaneers' Retreat Walkthrough
Step-by-step Captain Marley's Buccaneers' Retreat walkthrough for Forever Ago: Audrey's resort tasks, Guardian Lord, the souvenir shop, and the island.
guides
Forever Ago On The Road Back Home Walkthrough (With Screenshots)
Step-by-step On The Road Back Home walkthrough for Forever Ago: the van's oil leak, the stowaway dog, the phone booth, and the dream, with screenshots.
guides
Forever Ago Williamina Peak Walkthrough: Storm, Doggo, and the Summit
Step-by-step Williamina Peak walkthrough for Forever Ago: the storm drive, the crash dream, Doggo's snow tracks, the summit soup scene, and Audrey's final note.
Was this helpful?
Thanks for the feedback!