
Forever Ago Captain Marley & the Buccaneers' Retreat Walkthrough
Step-by-step Captain Marley's Buccaneers' Retreat walkthrough for Forever Ago: Audrey's resort tasks, Guardian Lord, the souvenir shop, and the island.
FAQ
What are Audrey's four tasks at Captain Marley's resort?
Do you have to beat the Guardian Lord high score?
Why did the Buccaneers' Retreat close?
Is the boat ride to the island skippable?
Which achievements are connected to this section?
Story spoilers: this guide walks through the complete Captain Marley & the Buccaneers’ Retreat stop, including the nightmare, the resort’s collapse paperwork, and the island flashback.
Captain Marley & the Buccaneers’ Retreat is the sixth stretch of the main story route, one stop past the Sam Detour and the desert breakdown that starts in On The Road Back Home. The family theme park Alfred and Audrey visited for years has been abandoned mid-season, and the game turns the whole day into a checklist — literally: Audrey’s journal page lists four tasks for the visit. Everything below follows that list in order. Every screenshot comes from published gameplay footage, credited in the source note, and each caption links the exact moment in that video.
Captain Marley’s Buccaneers’ Retreat walkthrough, step by step
Step 1: Arrive at the gate and inspect the entrance booth
The green camper pulls up to a gate fronted by the resort’s swan-mascot signage, thirty-ish years after Alfred’s last visit: “Almost 30 years since we last walked through this gate. I still think we made the right decision that day.” The walkthrough starts with the entrance booth — look inside, then follow the linear path toward reception.
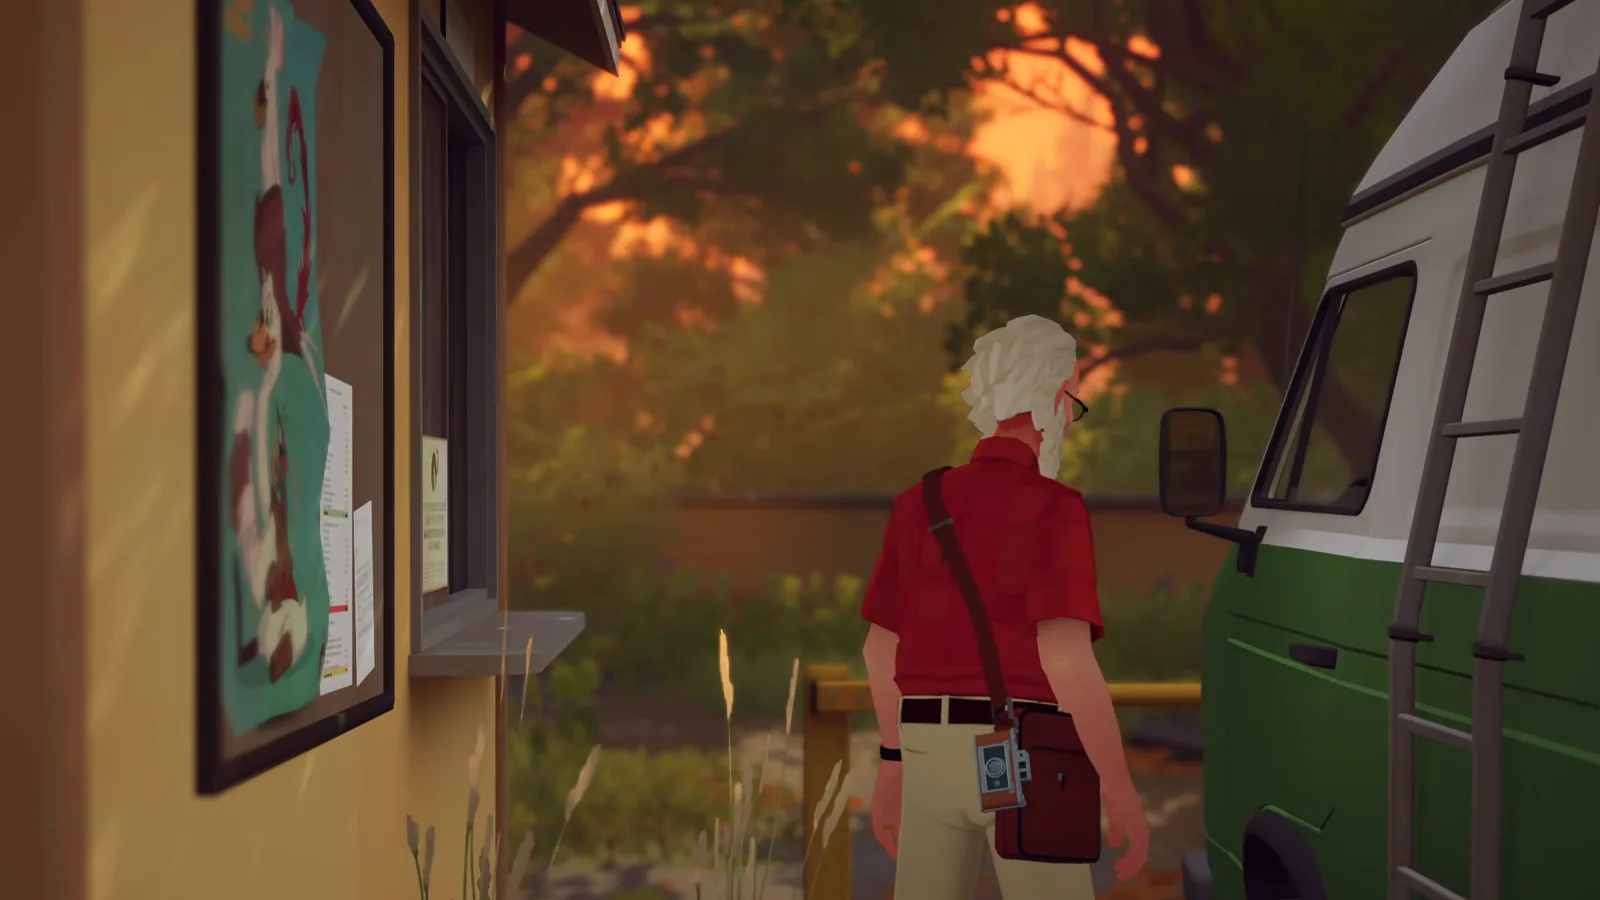
Arrival at the entrance booth, van parked, mascot poster still up. Watch this moment at 2:05:45.
A photograph from the gate makes a good opener for the stop — the instant camera frames the “Welcome to Captain Marley & the Buccaneers’ Retreat” sign with its swan Skipper.
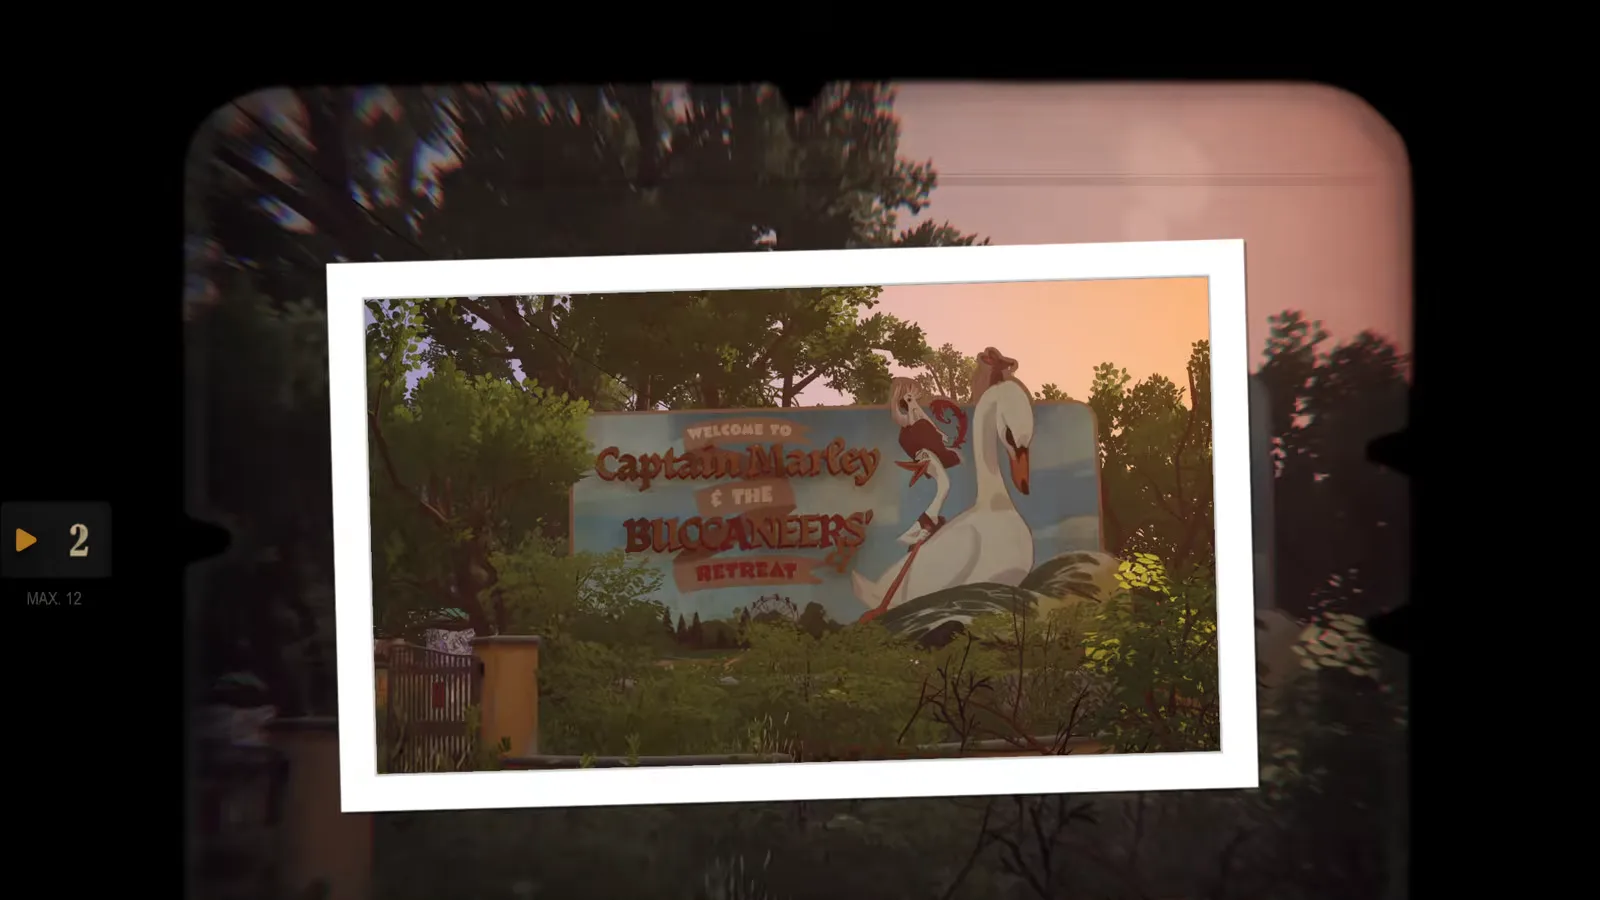
The resort sign through the viewfinder — photo two of the day’s twelve. Watch this moment at 2:07:12.
Step 2: Get the day ticket and read Audrey’s task list
The ticket machines still run — “They still have the power running. This place is stuck in 2001” — and the day ticket is task one of Audrey’s list. Her journal page spells the whole visit out, complete with a joke about the senior’s discount Alfred was supposed to ask for: “Didn’t even need the discount, Audie.”
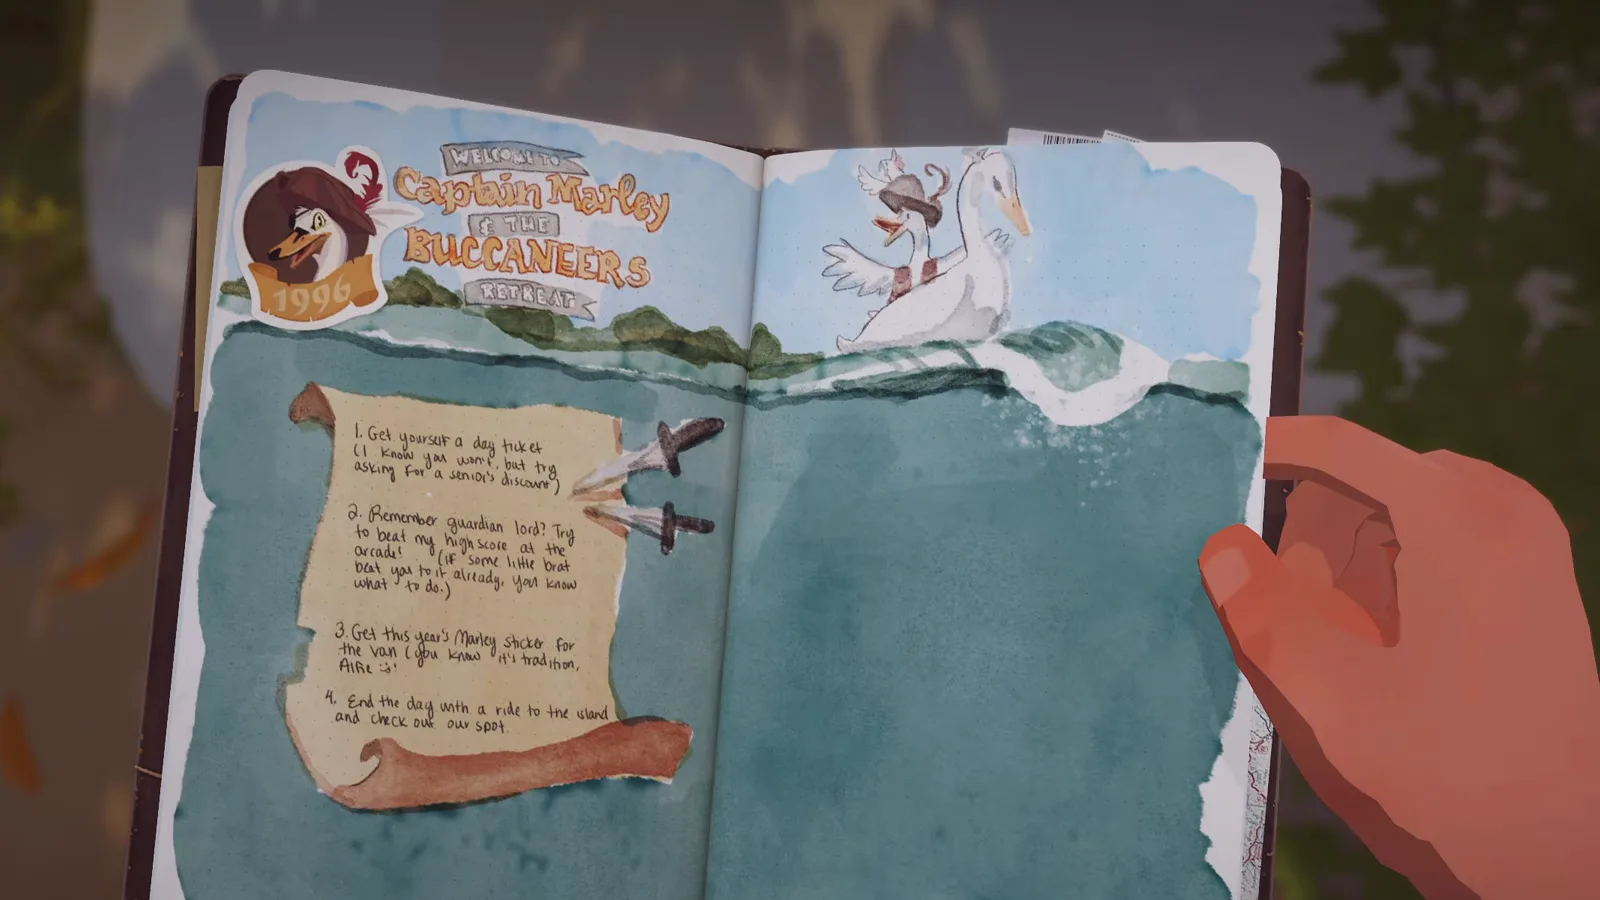
Audrey’s list: a day ticket, the Guardian Lord high score, a Marley sticker, and the island. Watch this moment at 2:09:00.
The four tasks, as Audrey wrote them: get yourself a day ticket (“I know ya won’t, but try asking for a senior’s discount”), beat her high score at the Guardian Lord arcade (“If some little brat beat you to it already, you know what to do”), get this year’s Marley sticker for the van (“you know it’s tradition, Alfie”), and end the day with a ride to the island to “check out our spot.”
Step 3: Follow the path through the overgrown park
Inside, the route runs right past a narrow, overgrown section and on toward the captain’s galley. The park’s mascot — a pirate goose on a barrel — still guards the path, and the grounds are exactly as shabby as Alfred remembers them being charming: “Back then this resort was a buzzing place. Granted, it was always a little shabby, but that gave it its charm.”
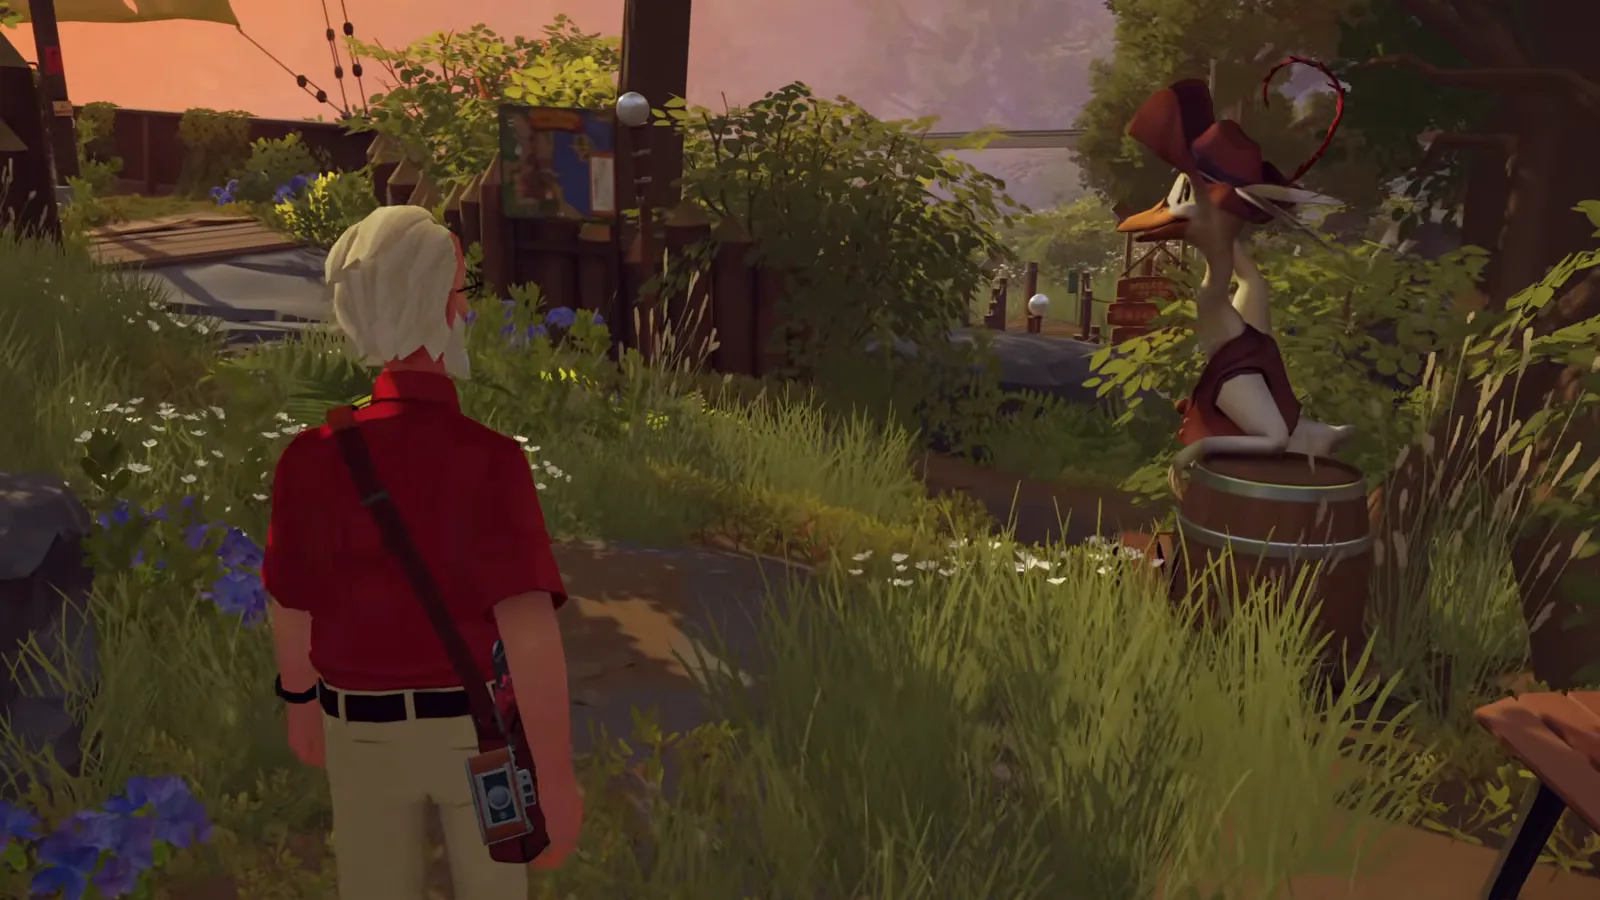
The pirate-goose mascot along the path to the captain’s galley. Watch this moment at 2:34:20.
Step 4: Climb the galley stairs into the nightmare
At the captain’s galley, the stairs lead up into a nightmare. The walkthrough’s instruction is to walk forward and interact with whatever blocks the path; the sequence replays the days after Audrey’s diagnosis — dropped plates, an argument about a mountain with clean air, “we need to get there. Whatever it takes.”
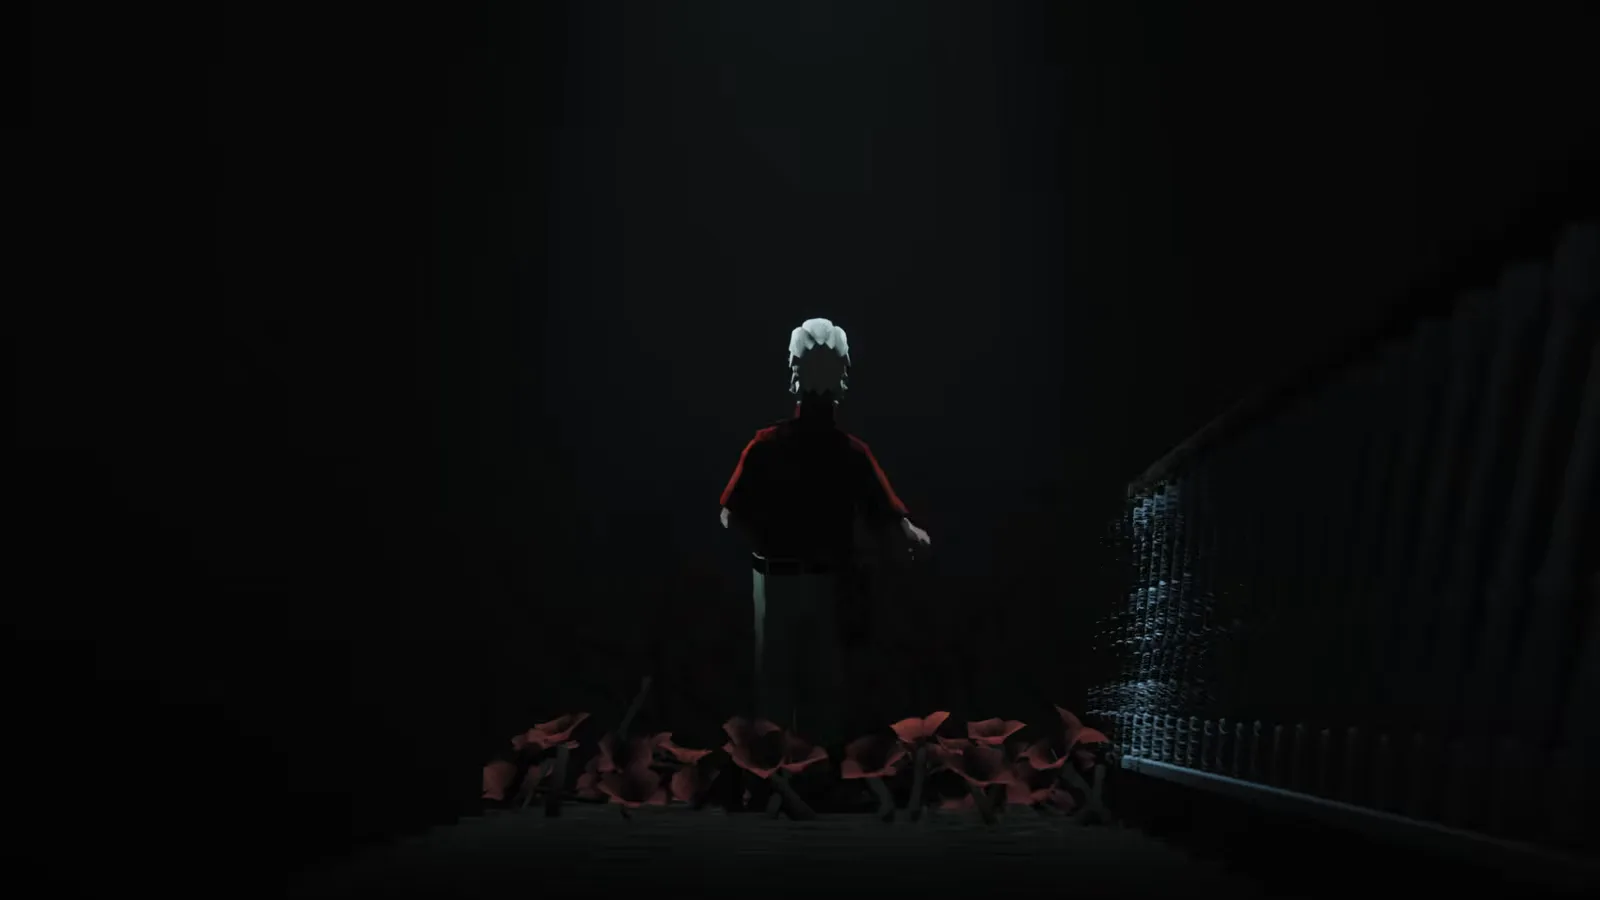
The nightmare replays the arguments that came with the treatments. Watch this moment at 2:25:00.
Step 5: Bolt cutters, locks, and the skull-and-coins arcade
Back outside the dream, the route turns practical: bridge a broken floor with planks, pick up the bolt cutters, cut the balcony lock, descend the ladder, and cut the lock on the arcade marked with a skull and coins. Inside, pulling the lever powers the machines up.
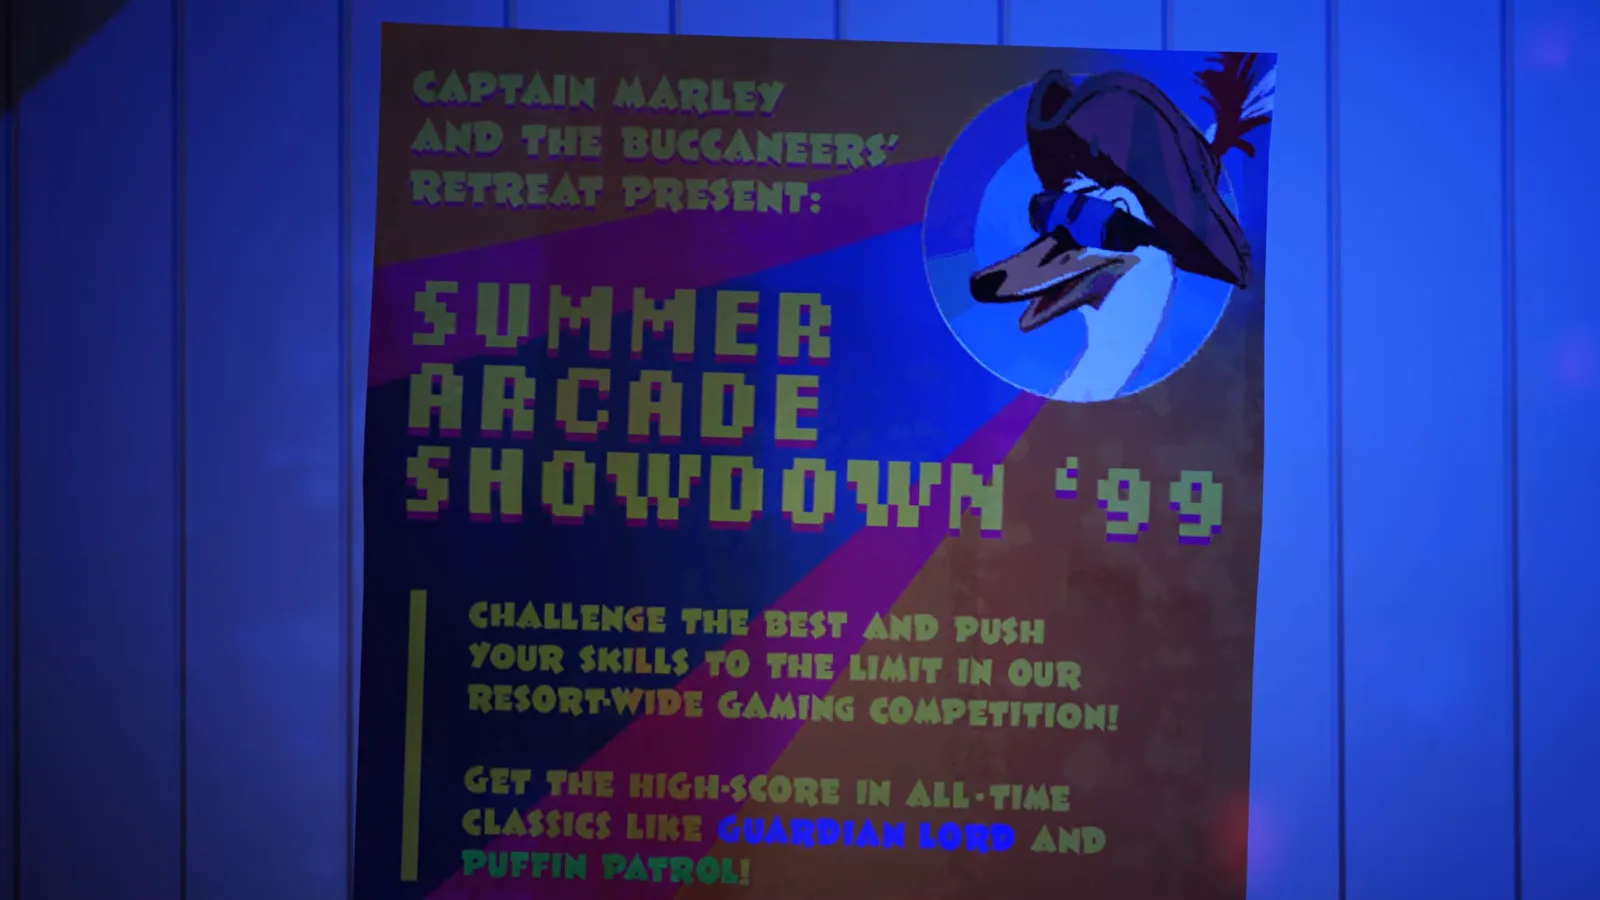
The arcade still advertises its 1999 high-score competition. Watch this moment at 2:35:52.
Step 6: Play Guardian Lord — and chase the 1337
“Guardian Lord, that’s our game.” Audrey’s task is to beat her high score, and the machine still shows what to beat: a target of 0001337. The last time the couple visited, “Audrey beating my high score” was the memory; now the screen is what remains — “The score is gone. It’s all gone. I was really hoping to see Audrey’s name still here.” The launch walkthrough notes the story objective completes even without beating the score, but the published Guardian Lord achievement condition is “Beat the arcade’s high score”, so play for the record.
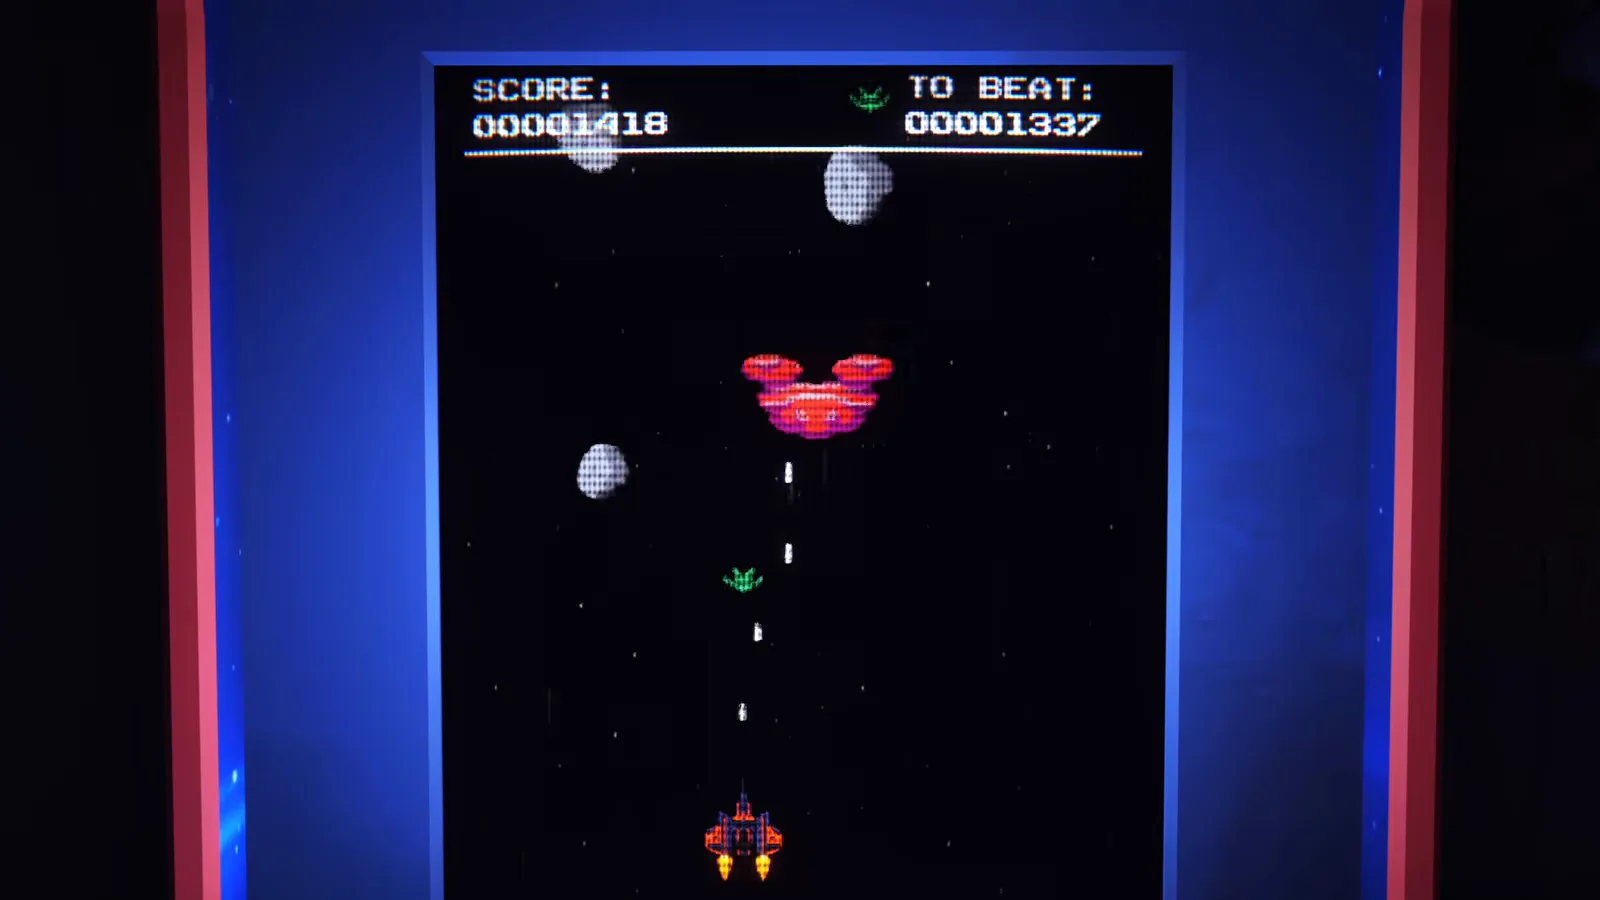
The scoreboard reading 0001418 against the 0001337 target — Audrey’s record finally falls. Watch this moment at 2:39:32.
Step 7: The souvenir shop: stickers and the parrot case
Exit the arcade, keep right, and cut the lock on the souvenir shop. Task three lives here: the Marley sticker for the van. The yearly mascot stickers were a tradition — “They make a new one each year. At some point it started to become like a habit of collecting those” — and with the yearly run discontinued, any sticker beats none. The cockatoo case by the shelf takes a coin and dispenses wisdom: “Treasure ain’t just golden jewels. It lies in the tales you get to tell, the friends you sail with, and the adventures you remember.”
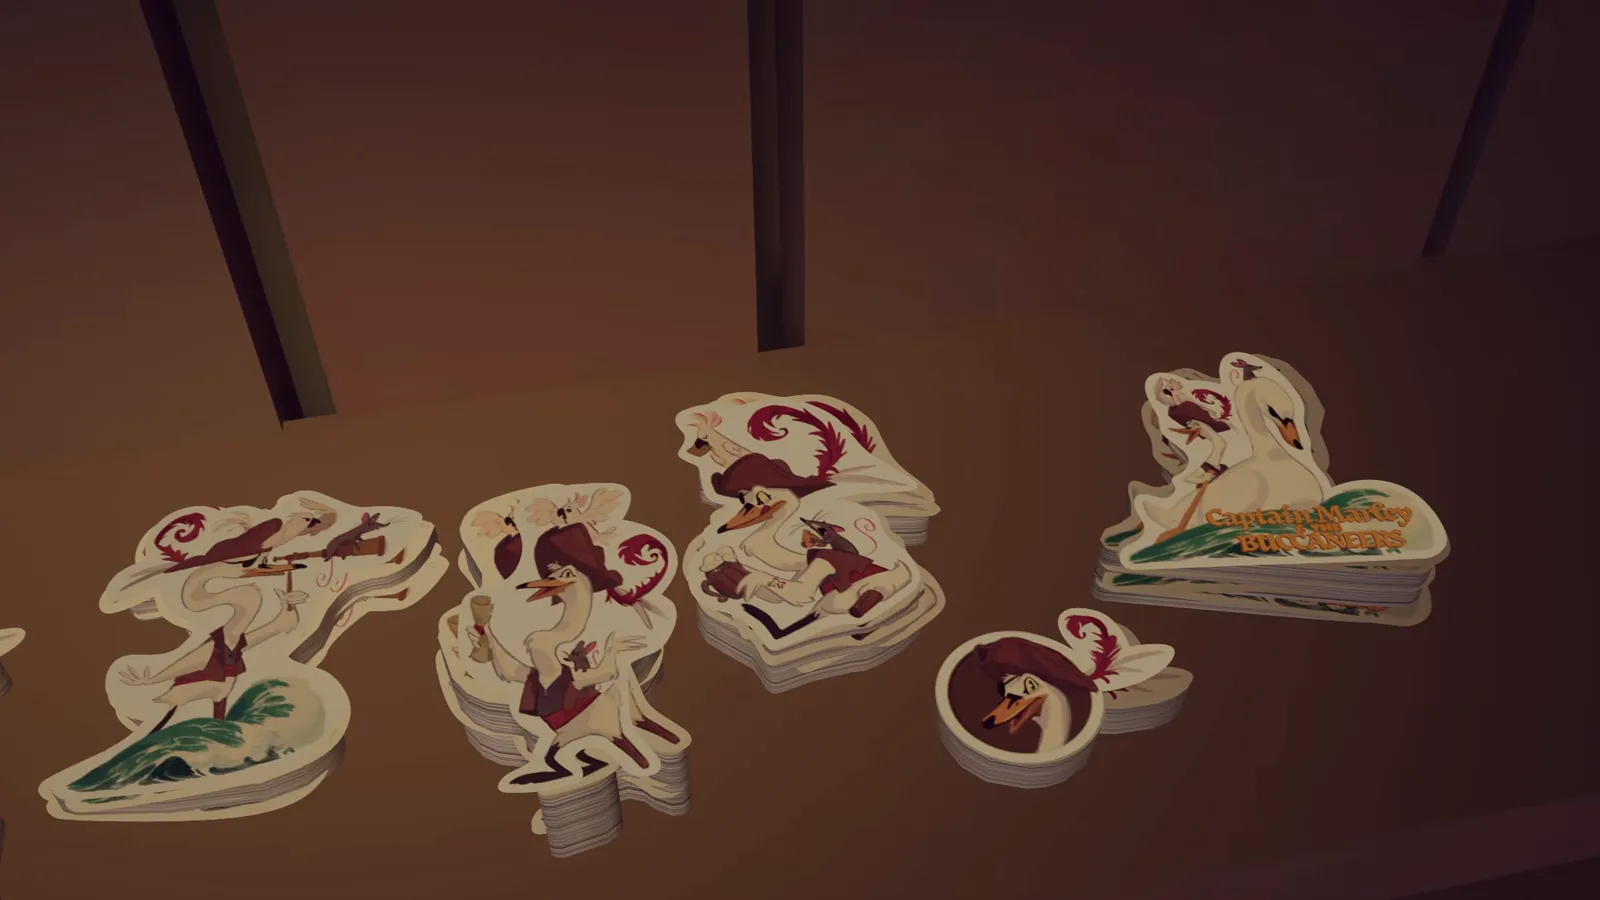
The mascot sticker pile — the van gets its tradition back. Watch this moment at 2:33:56.
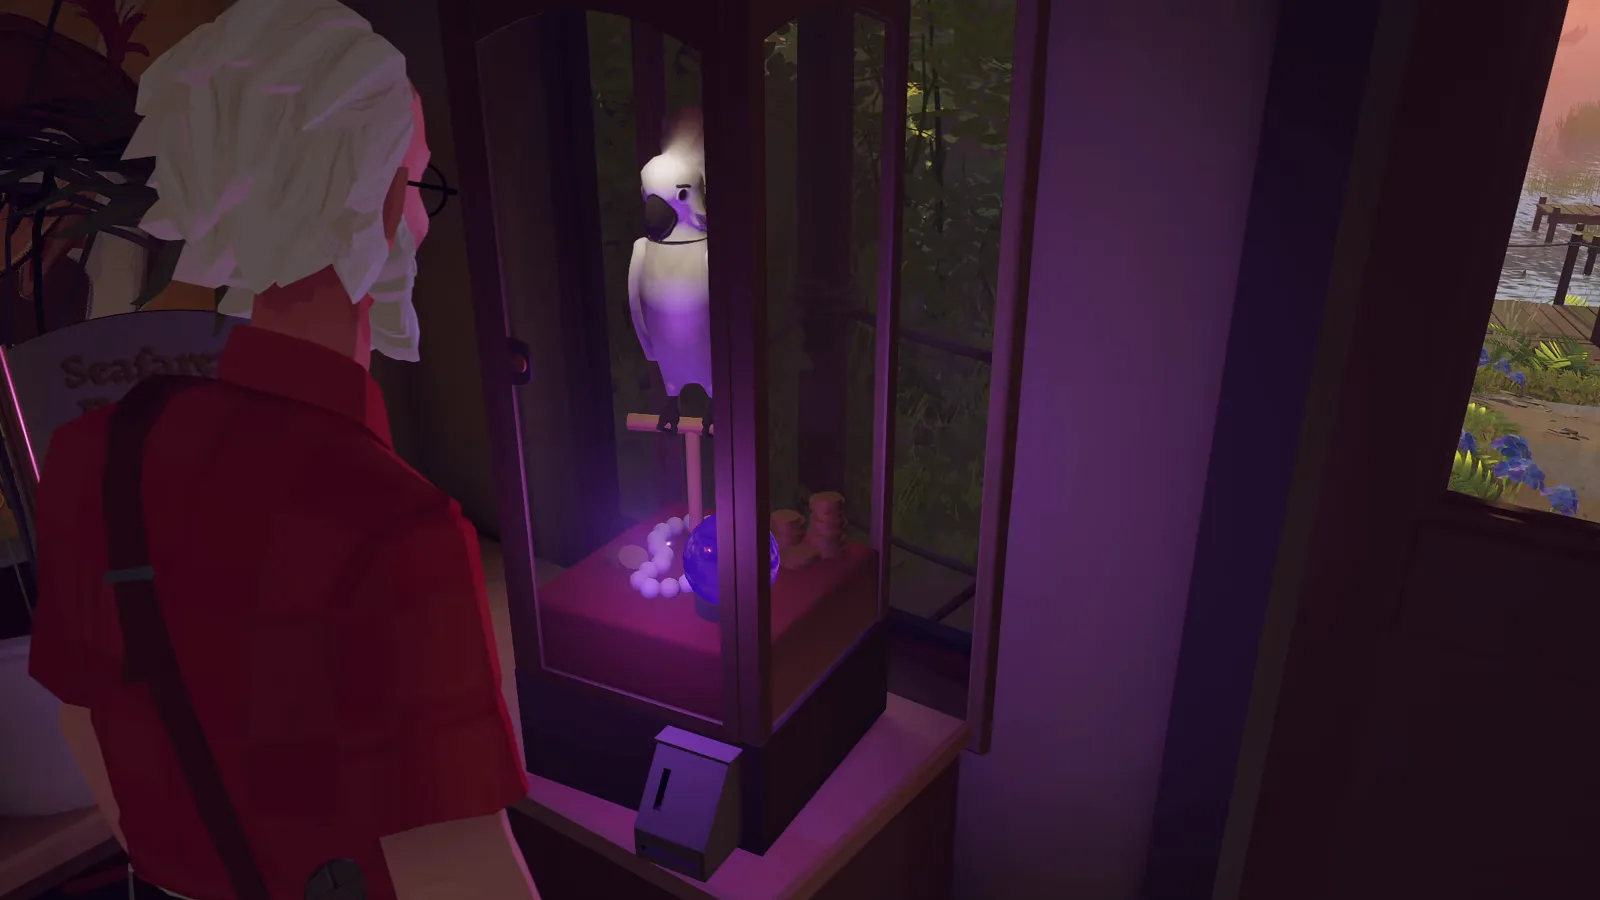
The cockatoo case trades a coin for a fortune. Watch this moment at 2:32:00.
The site’s achievement checklist also points completion hunters at the shop shelf beside the parrot for The Plundered Plumage (“Find Marley’s bobblehead”, per the Xbox list).
Step 8: Read the paperwork that ended the resort
Scattered through the resort, the resort’s own last paperwork explains the closure. A staff note begs for spare parts “3 weeks before the opening”; a worker’s note says the crew is walking out unpaid; and a later note passes along the rumor that owner Roberts — the name spray-painted next to the entrance newspaper — “is in some serious financial trouble.” That is Scallyrat Roberts: the Xbox list publishes its condition as “Learn what led to the resort’s collapse”.
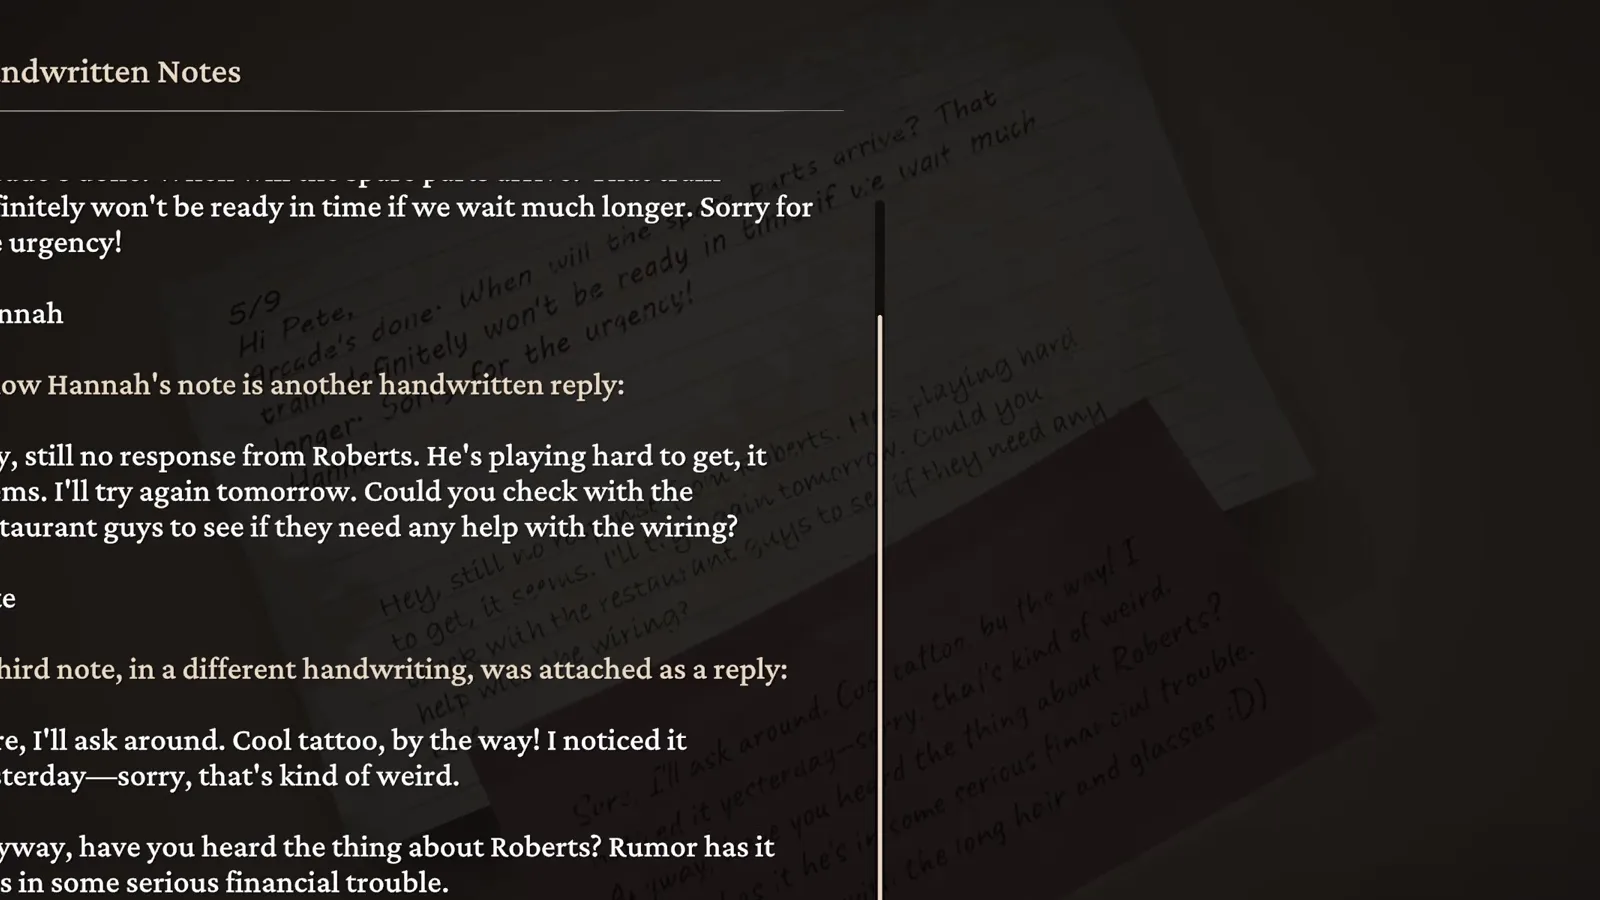
The note that names the rumor: Roberts, in serious financial trouble. Watch this moment at 2:37:08.
Step 9: Cut the harbor lock and row the swan-boat to the island
The route exits through the door near the parrot and reaches the docks, where the harbor lock falls to the bolt cutters. The regular boats are gone — “The boats. They’re gone” — but the shed holds a swan-boat: “Not sure if it’s any good, but it’s floating. That’s good enough for me.” The dog waits ashore (“Oh, you don’t like water, do you?”), and photographing during the ride starts the flashback. Achievement hunters can also try Bowside 360 here — the Xbox list publishes its condition as “Do a 360 spin with a boat”.
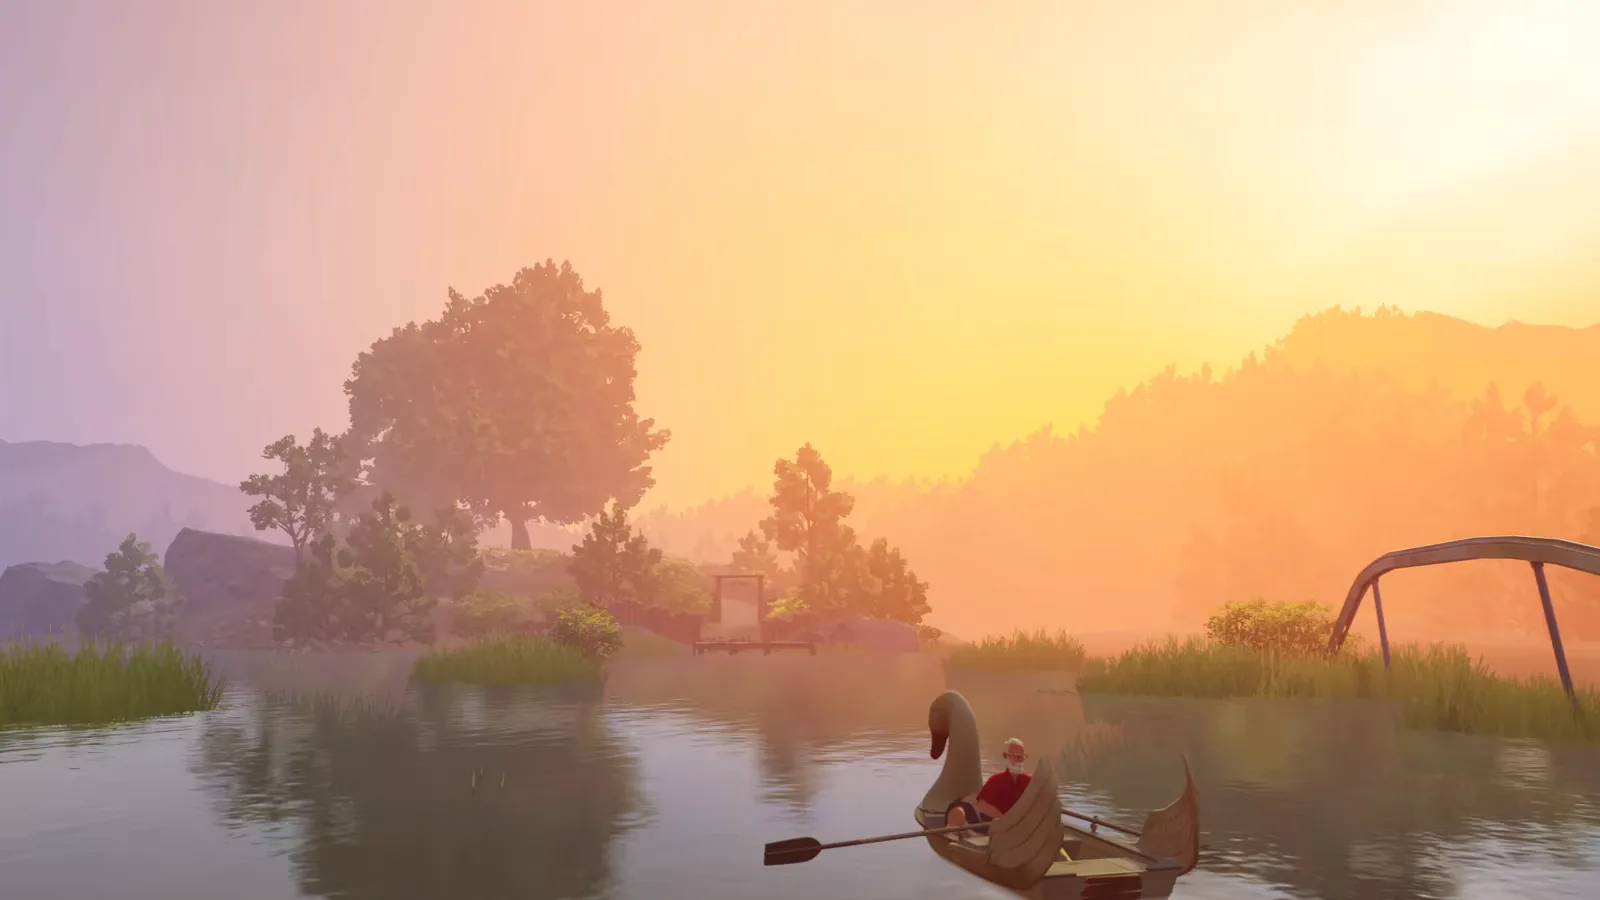
The swan-boat crossing — photographing mid-ride starts the memory. Watch this moment at 2:48:00.
The flashback replays the couple’s younger visits: a boat operator waving them across before the seven o’clock fireworks (“they could ban us for life for all I care. We are going to see those fireworks”), and a rowboat argument about routine — “We’ve been together for 22 years now. Married for 11” — that ends in a decision: “Let’s start from scratch. No more waiting and planning. From now on, it’s just doing whatever we want.”
Step 10: Follow Audrey, then carve the tree
Follow Audrey around the island to “our spot,” let the cutscene play, and the section closes with task four’s second half: the Carve Mark prompt on the memorable tree. The Xbox list publishes Have a Swantastic Day as “Carve your initials into a memorable tree” — this is that tree.
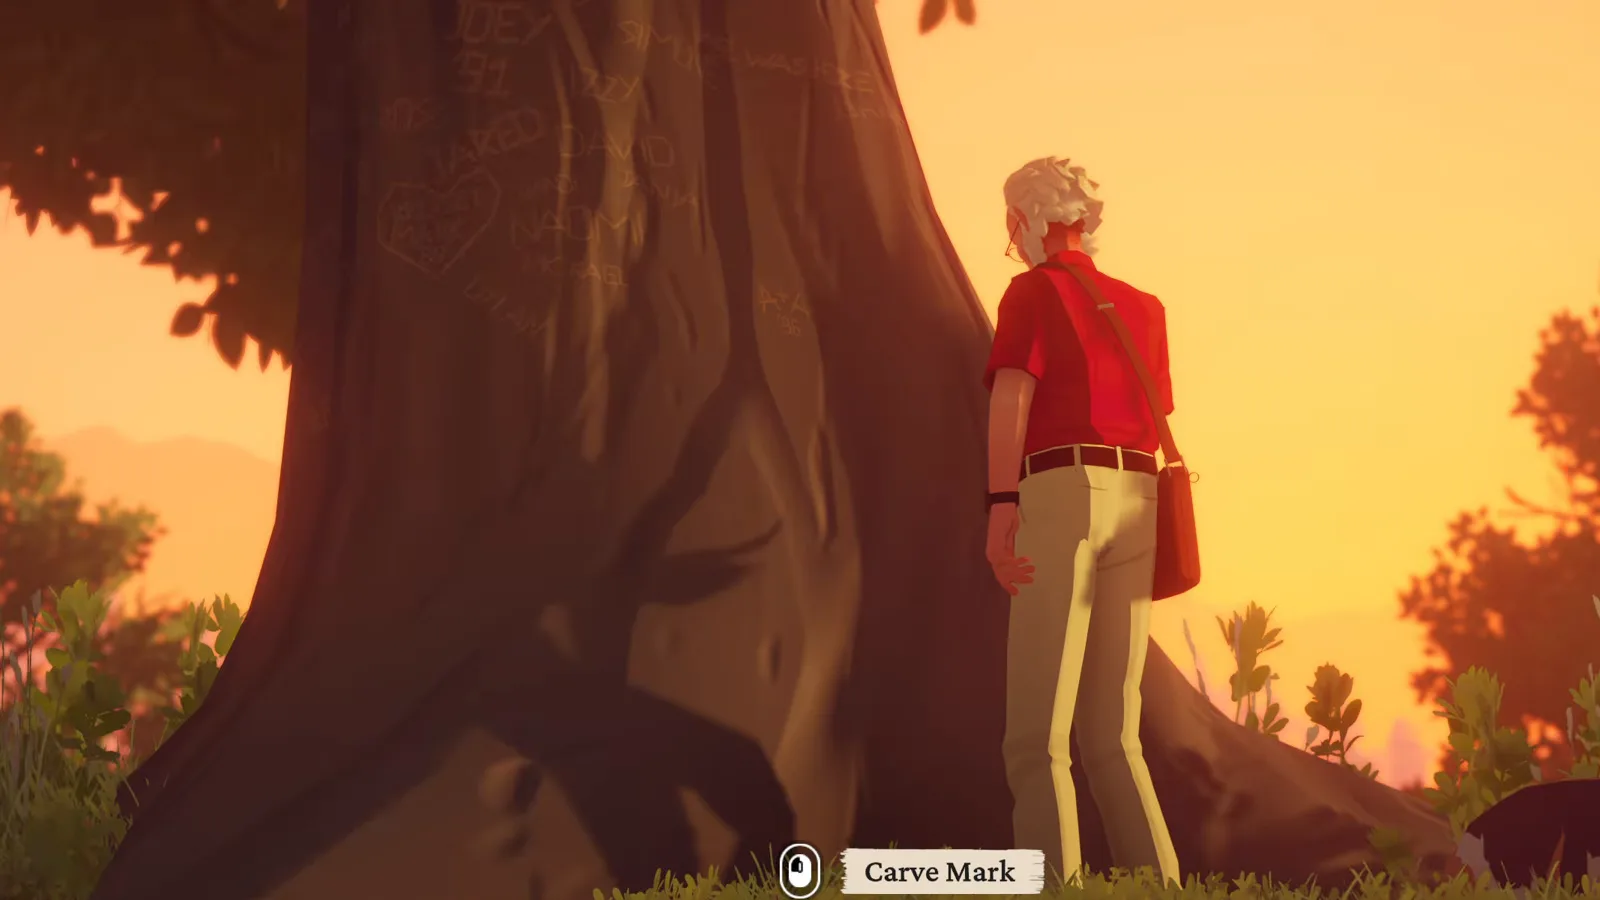
The Carve Mark prompt on the memorable tree. Watch this moment at 2:54:12.
From here the route continues to Winslow Lighthouse, where the dog finally gets her name. If you are counting photos toward the 25- and 50-photo milestones, this stop is one of the richest on the route; the beginner guide covers the camera basics, and the platinum route groups this stop’s achievements in one place.
Achievements connected to the Buccaneers’ Retreat
- Guardian Lord — “Beat the arcade’s high score” (Xbox list; hidden on Steam). The 0001337 target falls in step 6.
- Scallyrat Roberts — “Learn what led to the resort’s collapse” (Xbox list; hidden on Steam). Read the notes and the spray-painted newspaper in step 8.
- The Plundered Plumage — “Find Marley’s bobblehead” (Xbox list; hidden on Steam). The achievement checklist points at the shop shelf beside the parrot.
- Bowside 360 — “Do a 360 spin with a boat” (Xbox list; hidden on Steam). Attempt it during the swan-boat crossing.
- Have a Swantastic Day — “Carve your initials into a memorable tree” (Xbox list; hidden on Steam). The closing carving prompt in step 10.
Tips for this section
- Work Audrey’s list in order. Ticket, arcade, sticker, island — the journal page is effectively the section’s quest log, and the park layout funnels you through all four anyway.
- Carry the bolt cutter everywhere. Three locks — balcony, arcade, harbor — all answer to it, and the walkthrough’s route assumes you picked it up right after the nightmare.
- Photograph before the flashback. The mid-ride picture starts the island memory; if you want the shot of the resort sign from step 1 as well, take it before boarding.
- Read every note. The collapse paperwork is optional reading but required for Scallyrat Roberts, and it is the section’s best writing.
Sources and scope
Steps above paraphrase this section of the Into Indie Games main-story walkthrough (accessed 2026-10-14) and were checked against gameplay footage published by Adventure Vault on YouTube (accessed 2026-10-14). All screenshots are frames from that no-commentary video, used with credit; each caption links the exact moment the frame comes from. Dialogue quotes and the readable journal, poster, and note text are the game’s own words as shown in the footage. The five achievement conditions quoted above follow the Xbox list wording transcribed on this site’s achievement pages; Steam keeps them hidden. The Guardian Lord objective note (“completes even without beating the high score”) is the launch walkthrough’s observation, not a tested claim.
Related Articles
guides
Forever Ago On The Road Back Home Walkthrough (With Screenshots)
Step-by-step On The Road Back Home walkthrough for Forever Ago: the van's oil leak, the stowaway dog, the phone booth, and the dream, with screenshots.
guides
Forever Ago Williamina Peak Walkthrough: Storm, Doggo, and the Summit
Step-by-step Williamina Peak walkthrough for Forever Ago: the storm drive, the crash dream, Doggo's snow tracks, the summit soup scene, and Audrey's final note.
guides
Forever Ago Winslow Lighthouse Walkthrough (With Screenshots)
Step-by-step Winslow Lighthouse walkthrough for Forever Ago: naming the dog, Charles and Luke, the poppy photos, the closed sign, and the memory at the top.
Was this helpful?
Thanks for the feedback!